Wordfence is a security plugin which can allow you to login without any passwords for 30 days after setting up two-step authentication. WordPress can be launched in one click like an app.
Very convenient.
Installation and Licensing
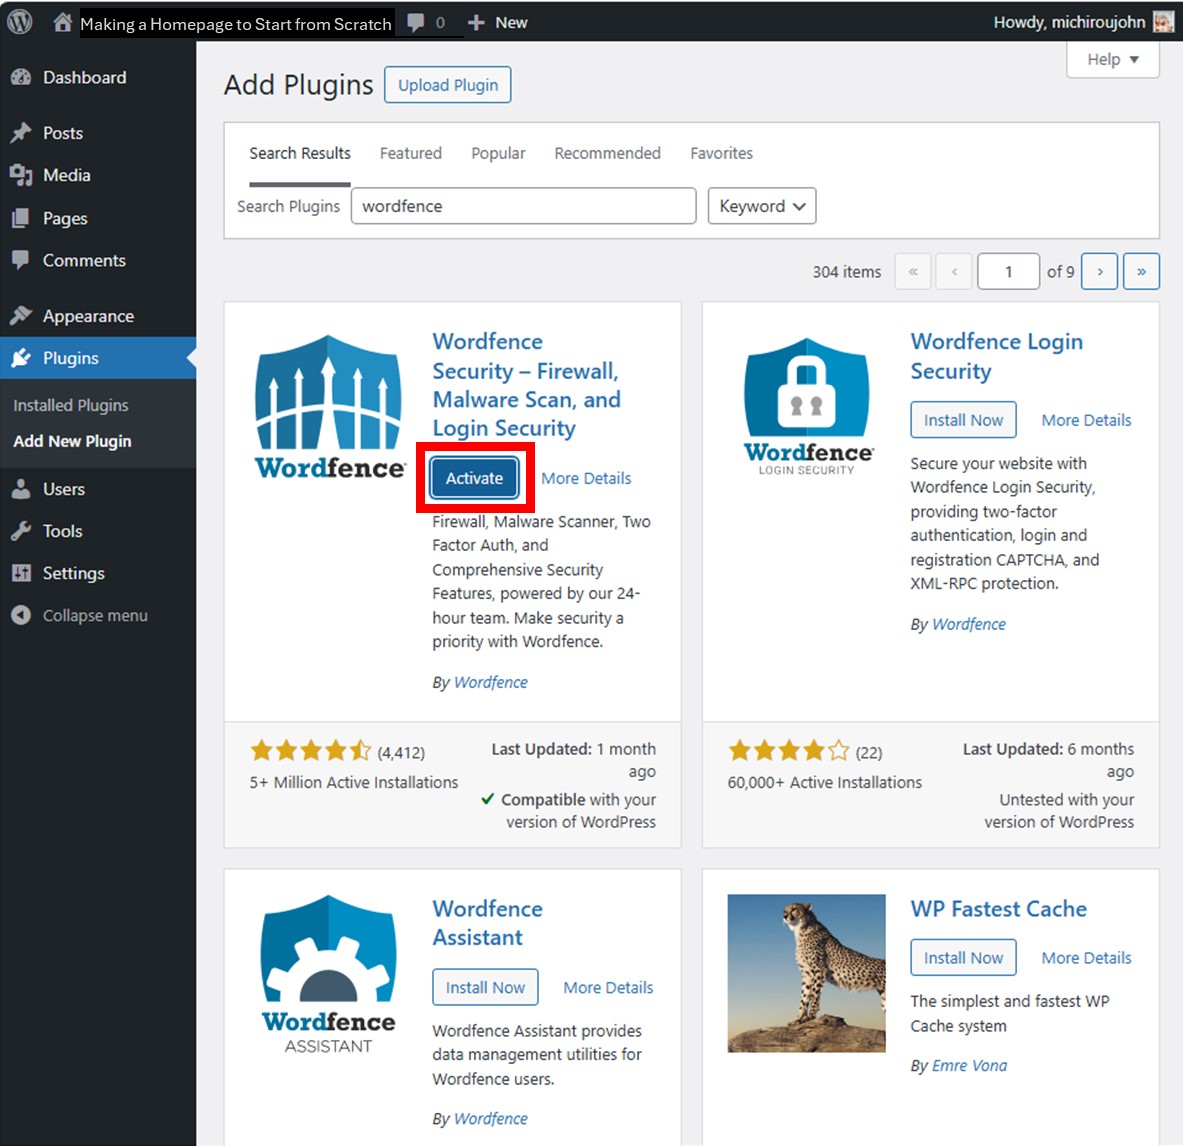
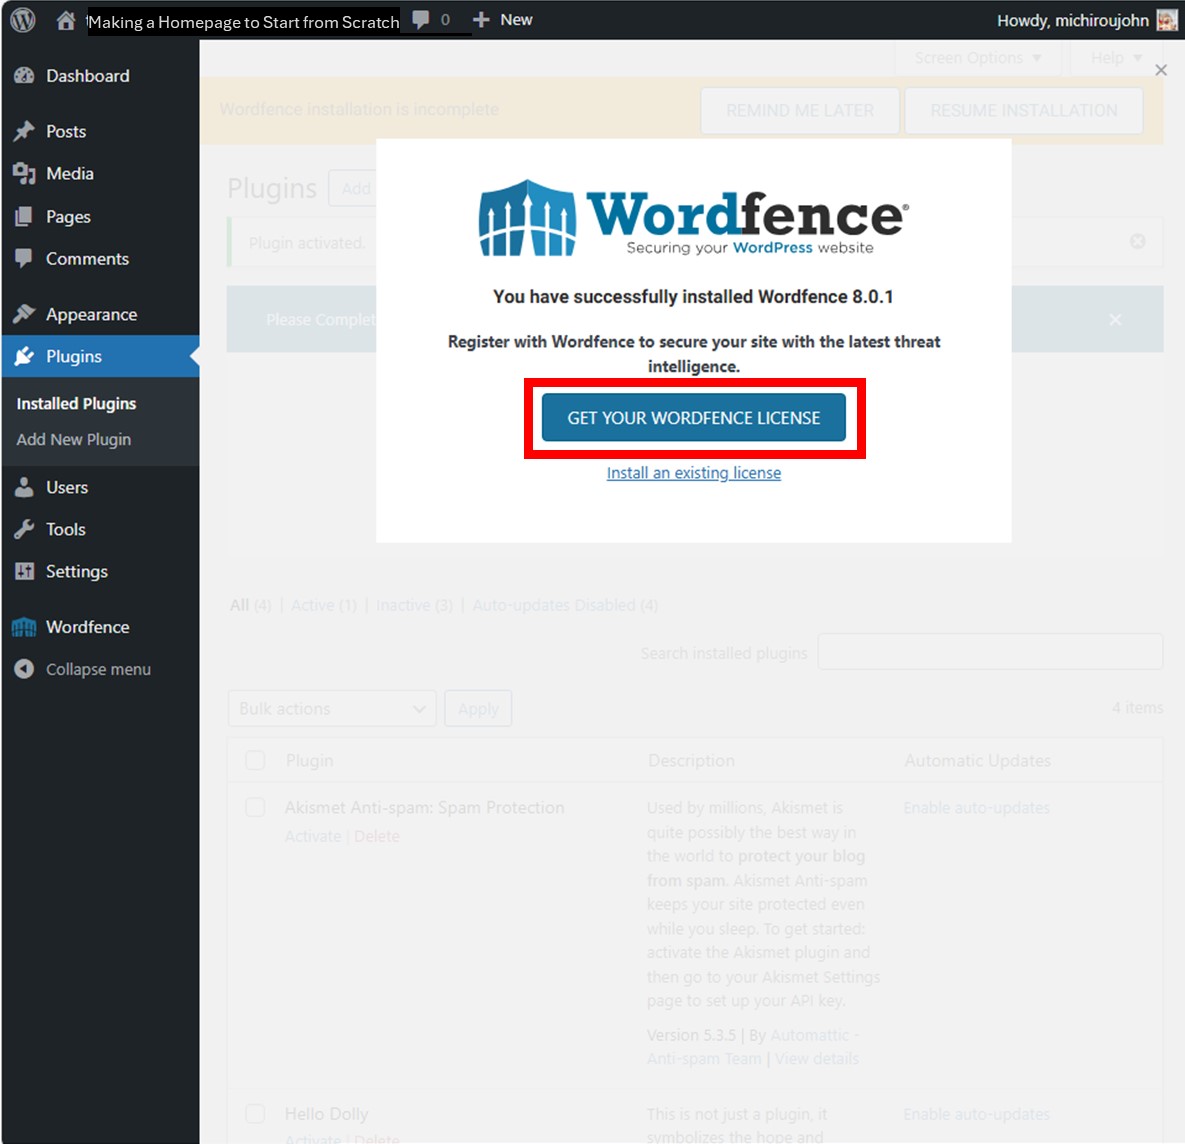
Once you install and activate Wordfence, a dialog box will appear to allow you to obtain a license. The licence is in English only.

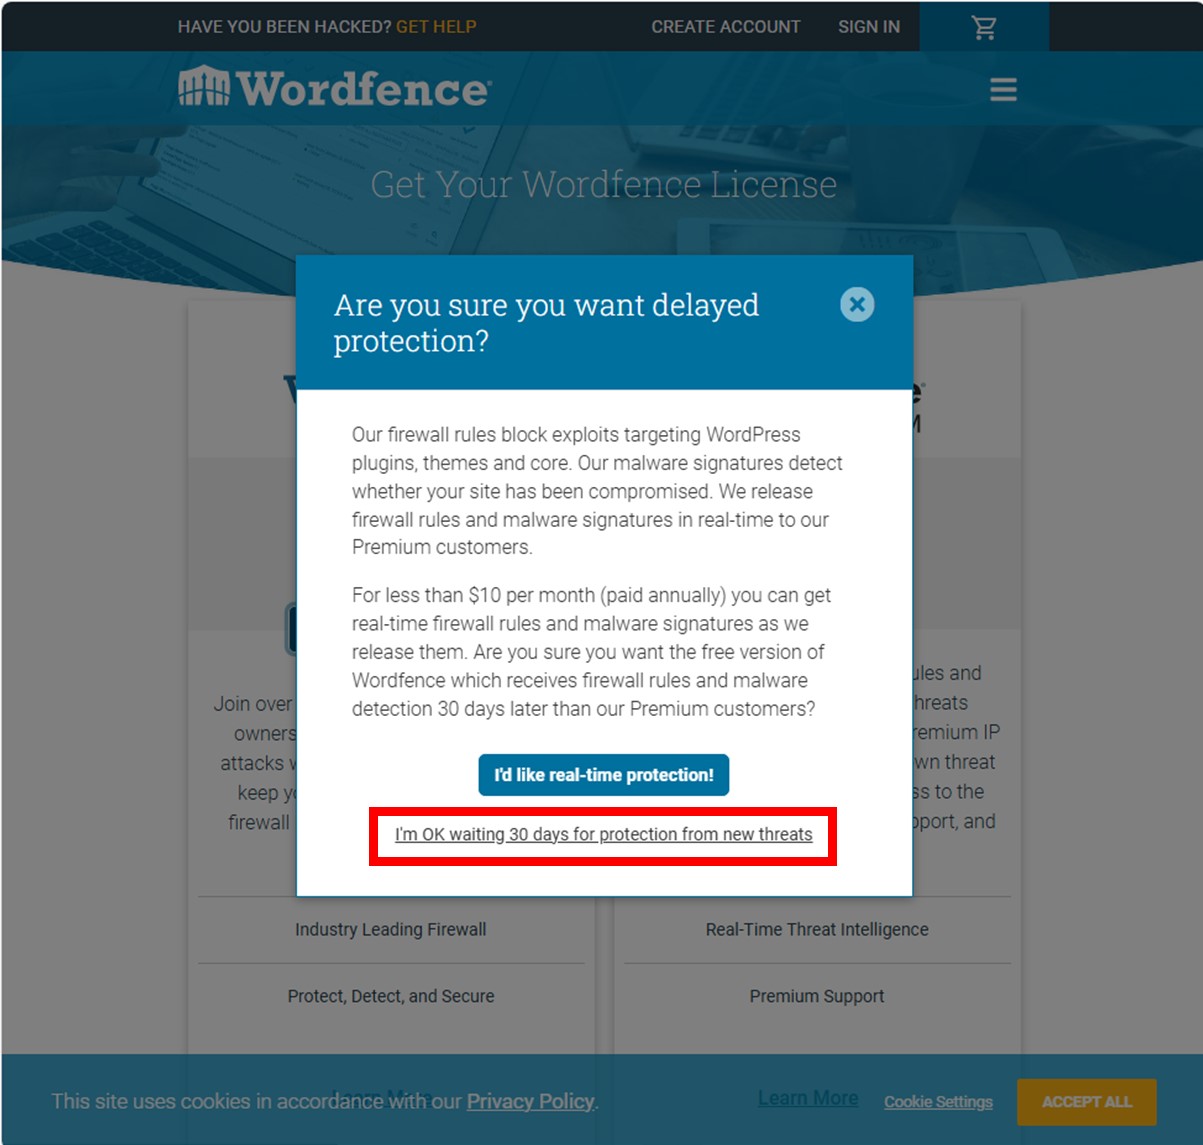
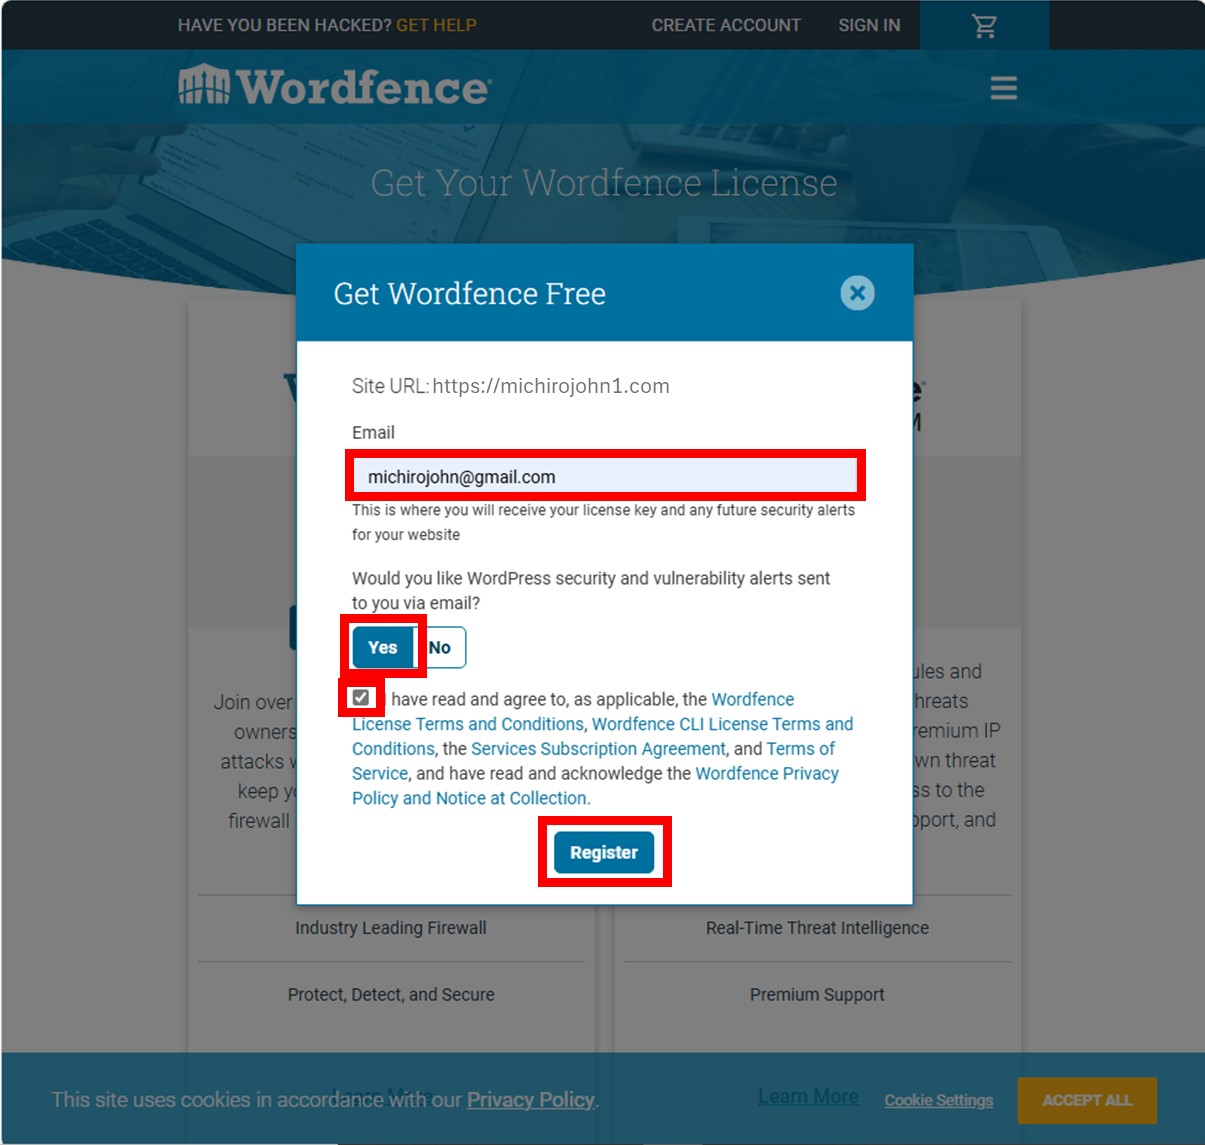
It’s okay to choose the free version at this time.
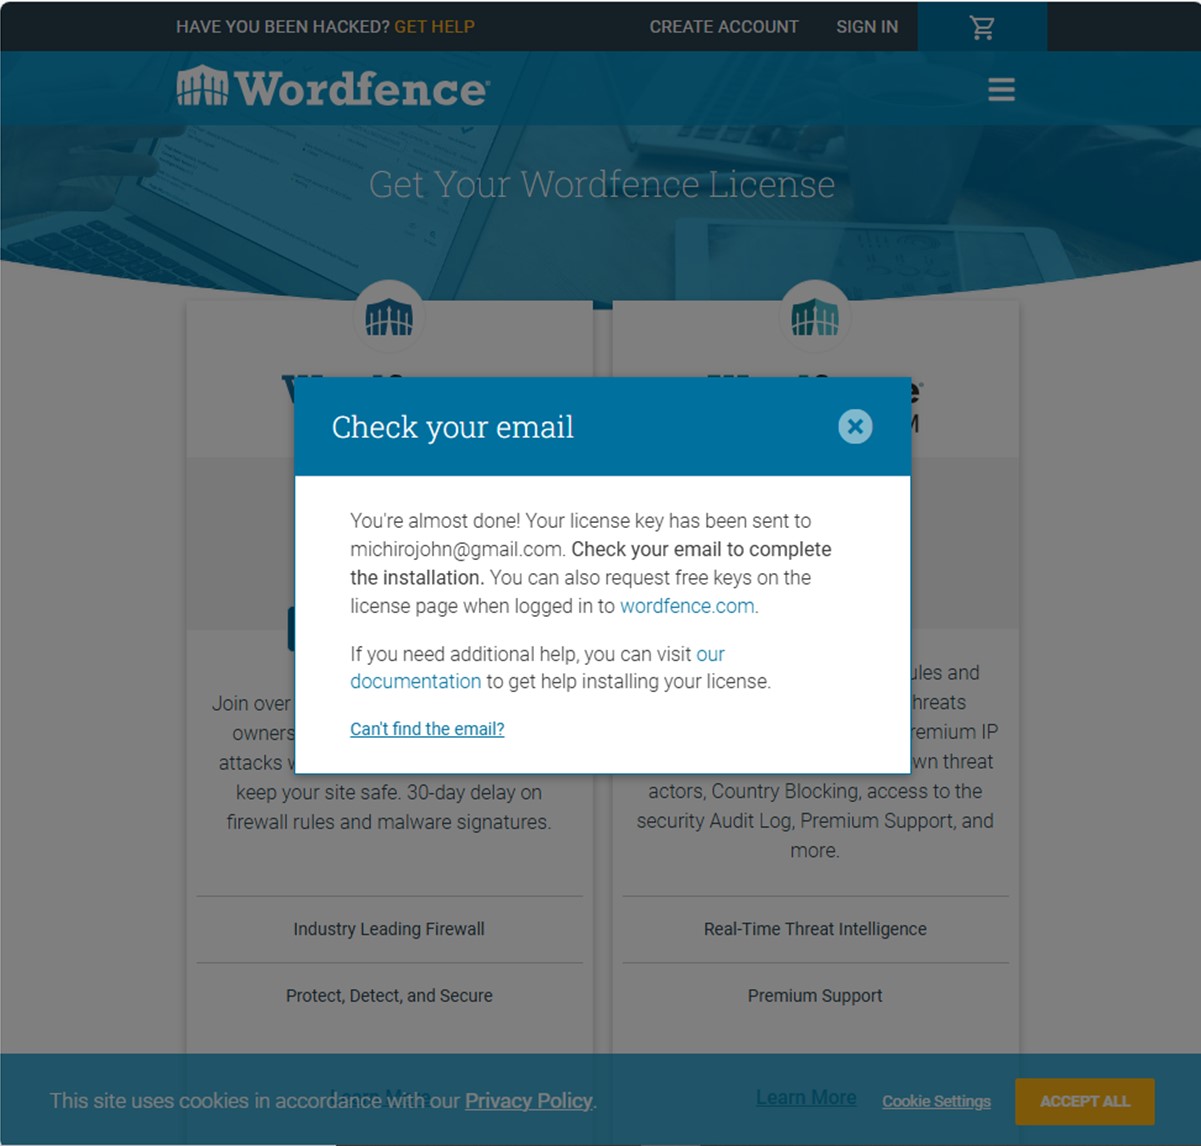
Enter your email address then receive the email.
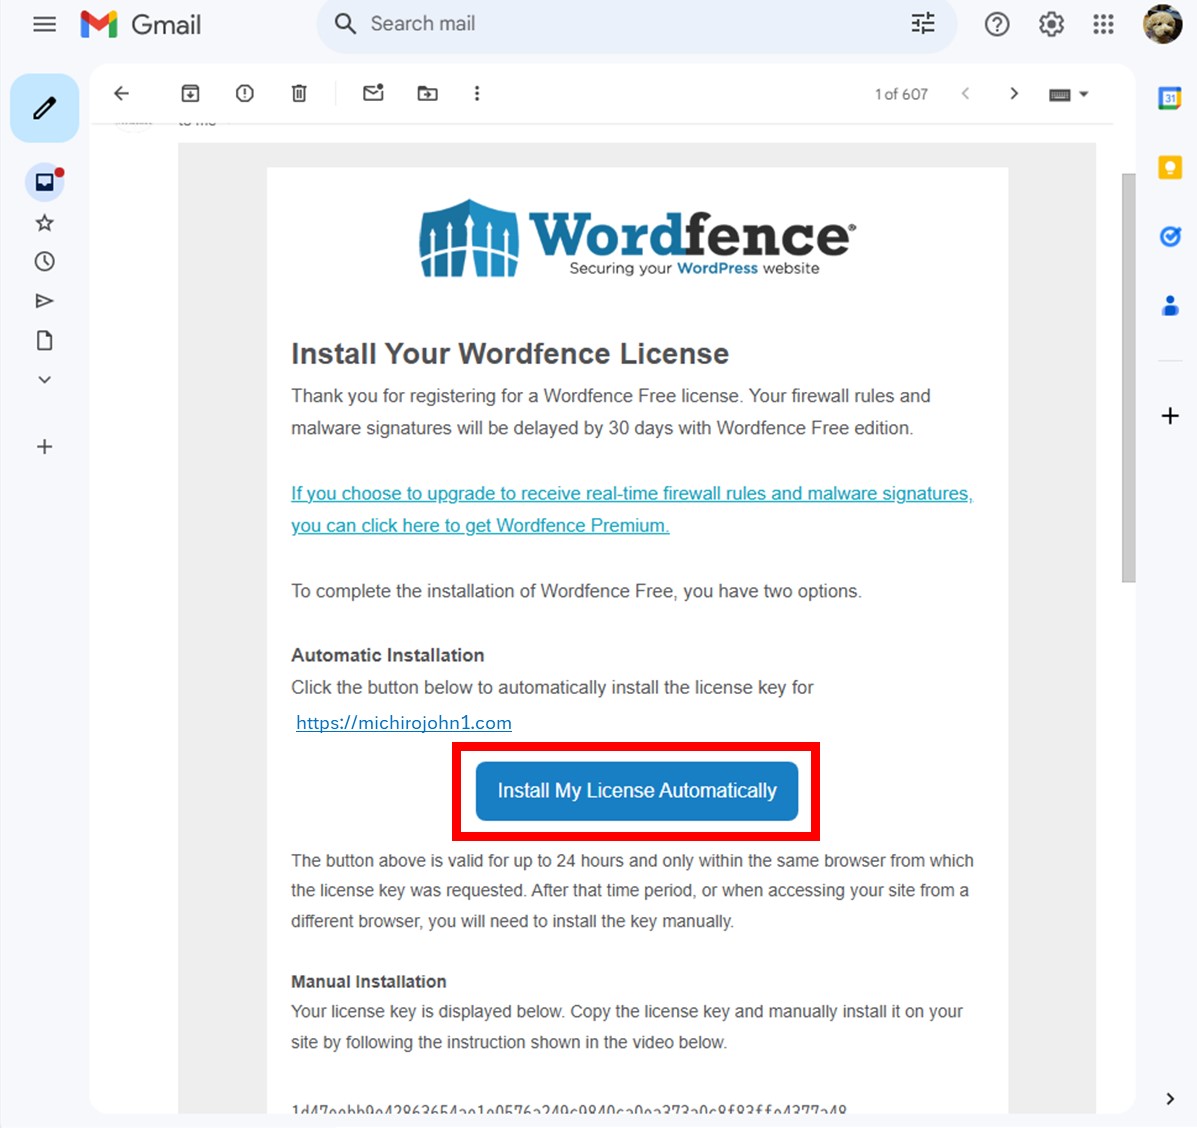
If you cannot understand English, that’s no problem. Just press the blue button.
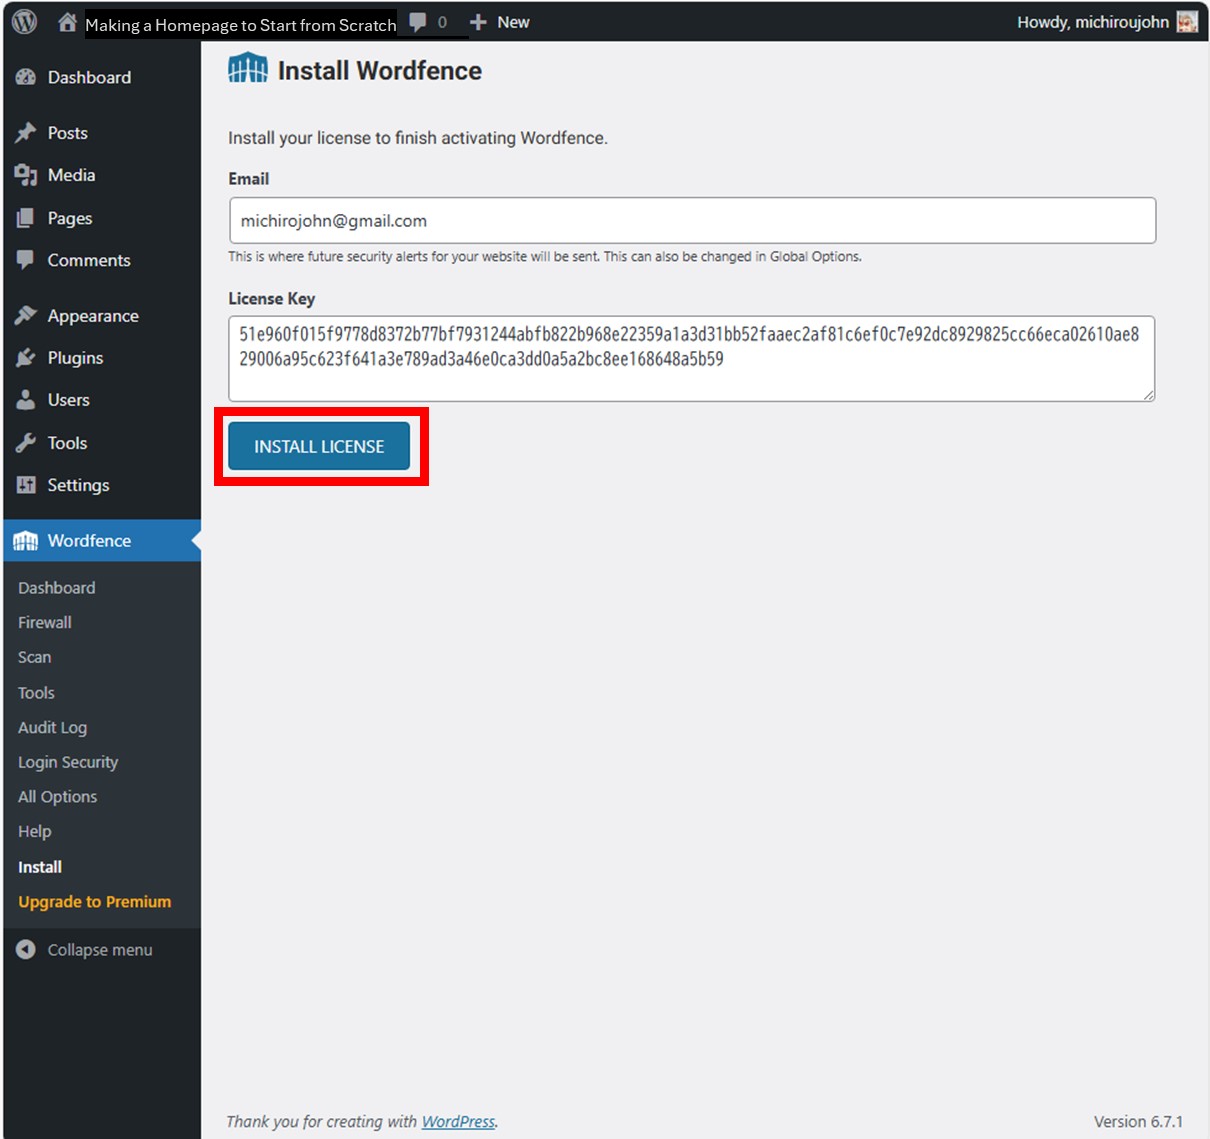
Then your country’s version of Wordfence will appear, and then press the “Install License” button to complete registration.
Setting up two-factor authentication
After a while finished licensing, you can receive the email notifications for unauthorized access and when your site is broken, however, Wordfence’s 2FA (two-factor authentication) has a feature that allows you to login by password-less, so there’s no reason not to use it.
First, click on the “Login Security” tab.
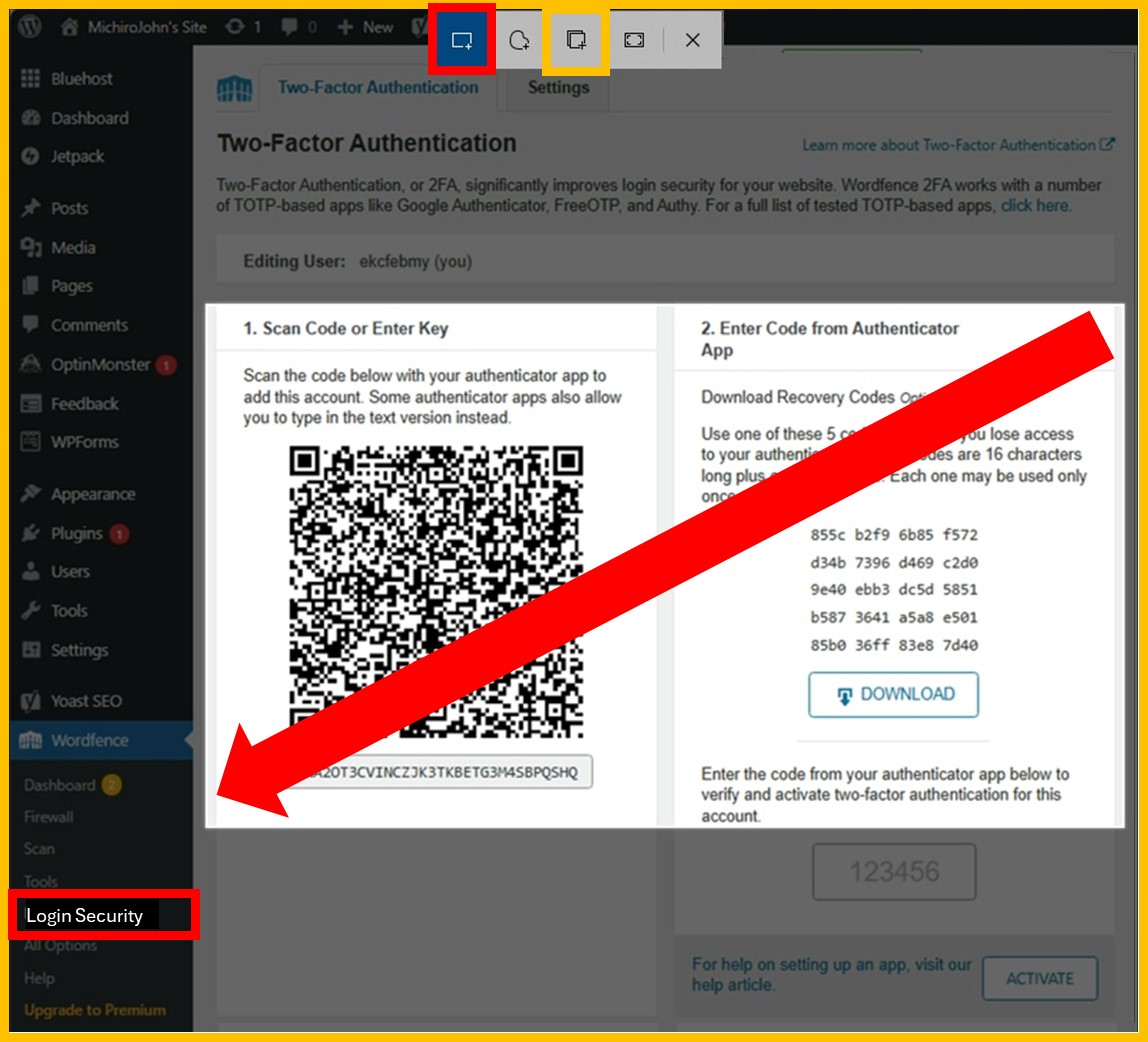
As QR code is displayed, you scan it with Authenticator’s camera.
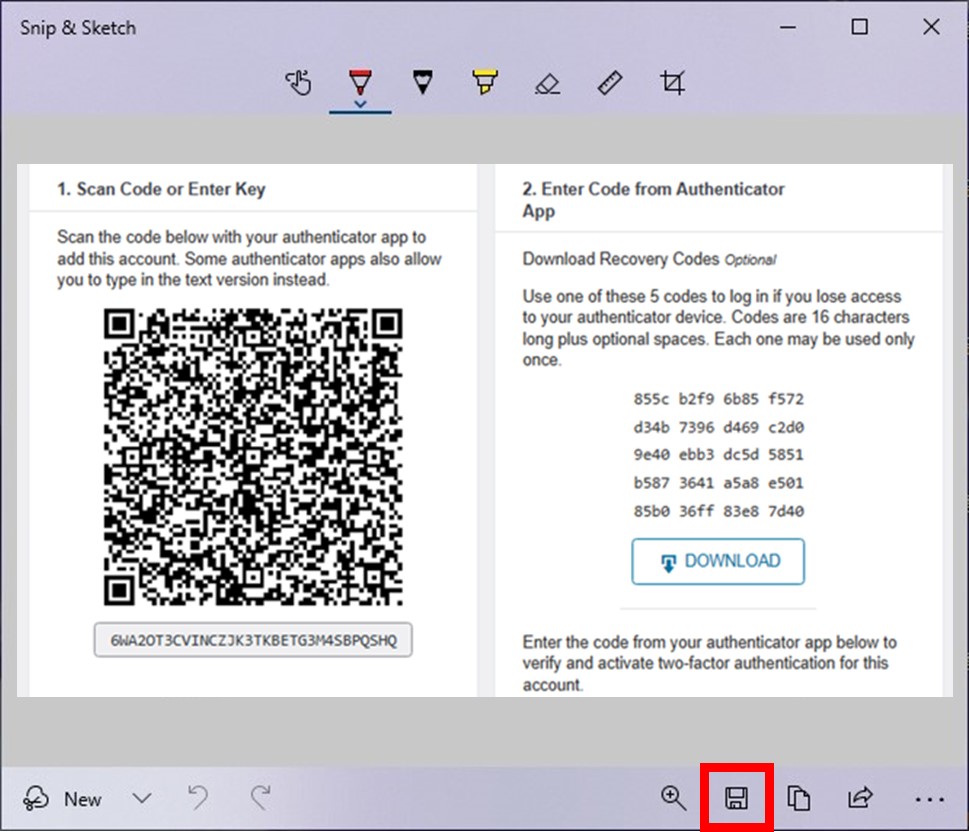
If you save it as an image, you can import the 2FA code from this image. QR code can be read from an image. And you can use it as a backup.

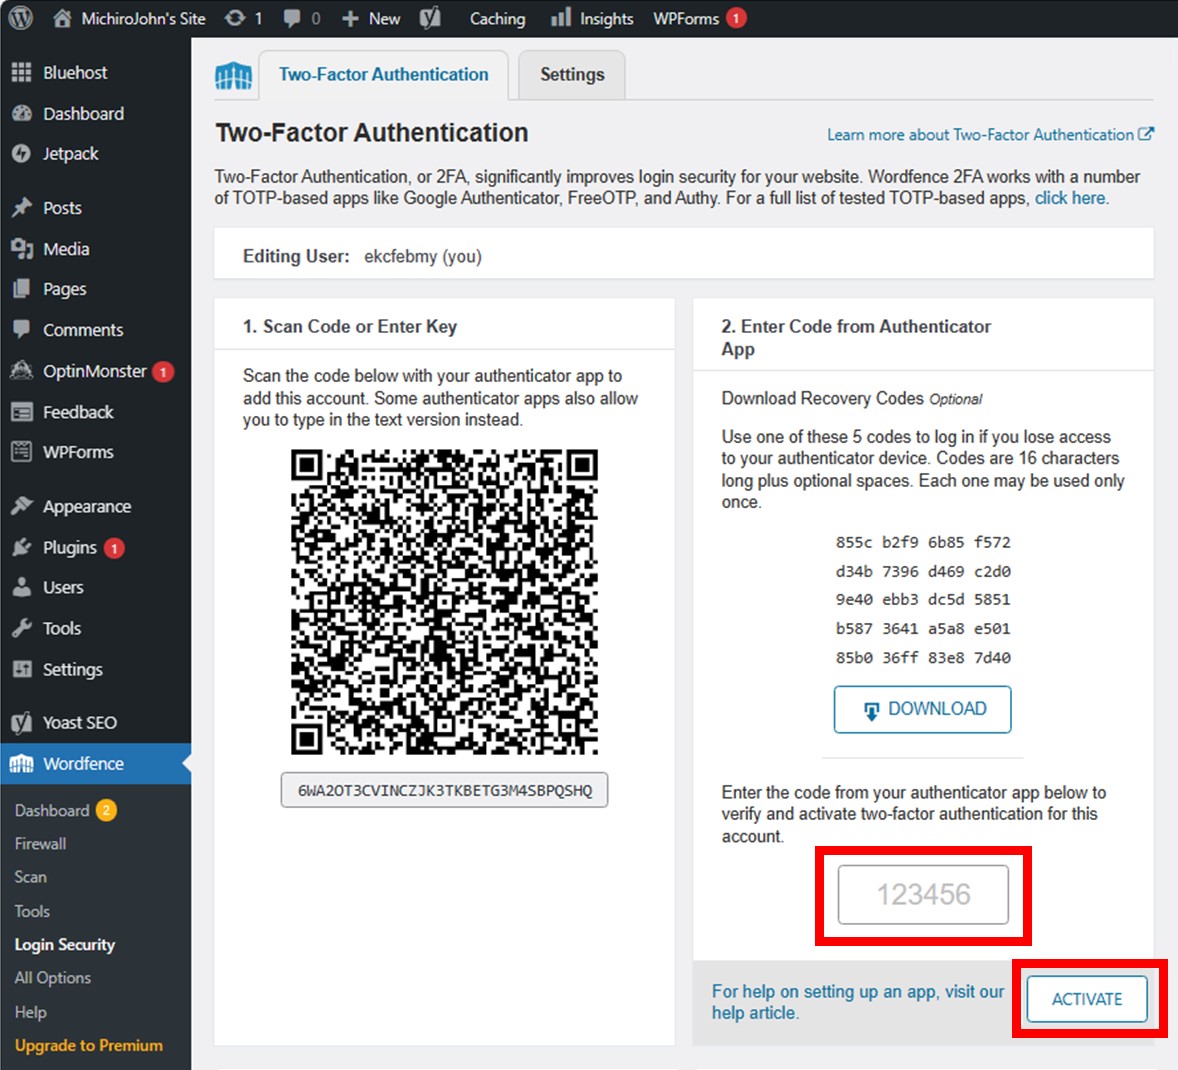
Enter the six-digit number and press the “Activate” button to complete the setup.
Next, make 2FA passwordless for 30 days.
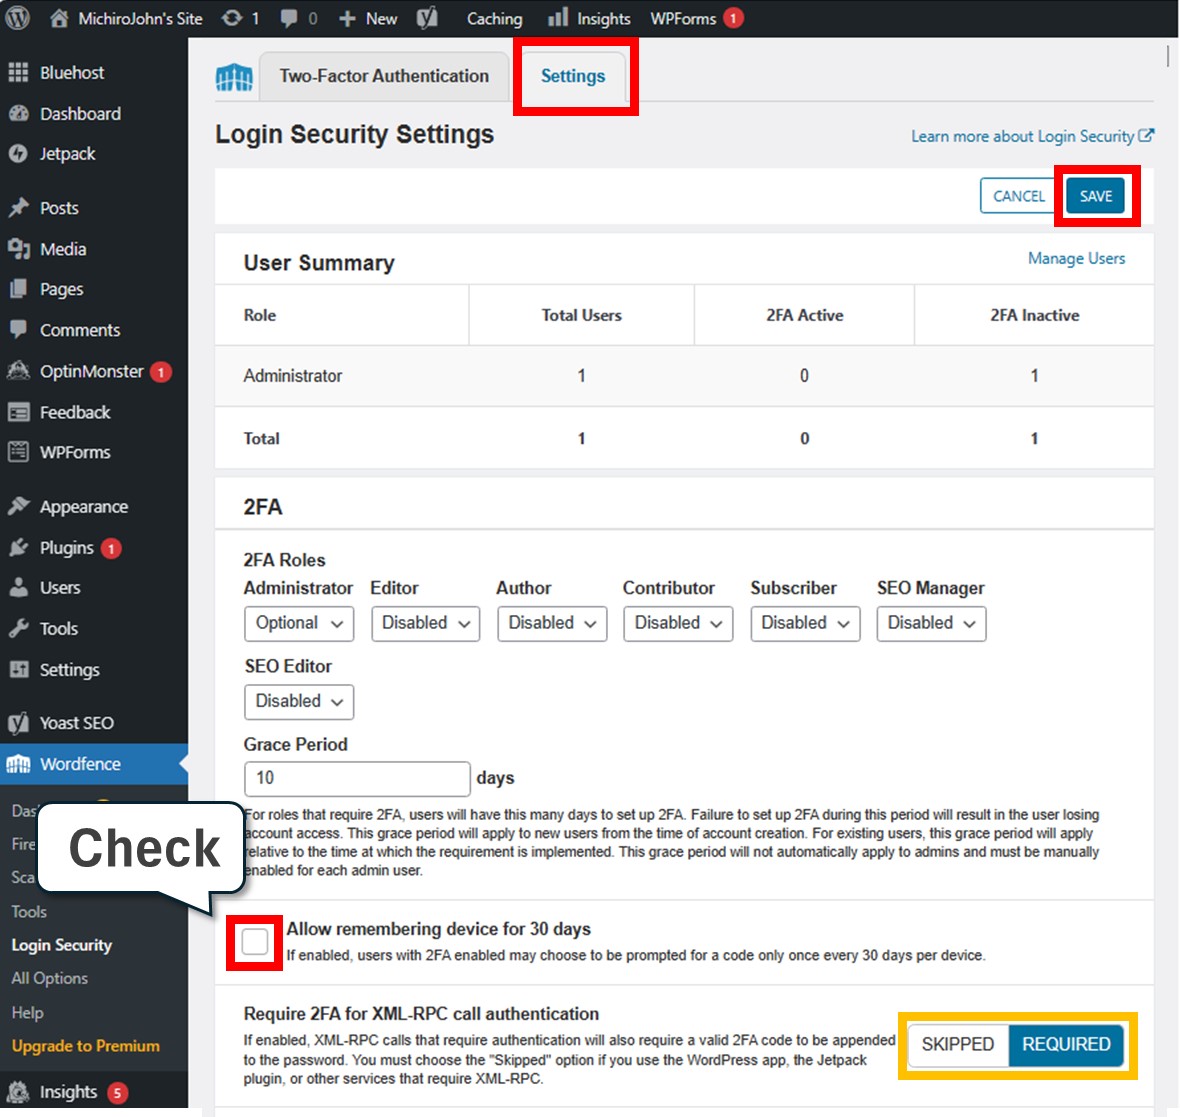
Press the “Settings” tab then check “Allow remembering device for 30 days.” Don’t forget to press “Save” button to change the settings.
Note; You can temporarily disable 2FA by pressing “SKIPPED” in the orange box (Require 2FA for XML-RPC call authentication). It is effective for using the smartphone app “Jetpack-Website Builder“. It uses a 2FA layer to log in, so if you have set 2FA with Authenticator, you cannot access your site successfully. You have to delete 2FA once, but if you use this skip function, you can access your site with Jetpack-Website Builder, without deleting 2FA. Once you have logged in once, you may be able to login even if you will reinstate 2FA later.
Other Settings
Wordfence has so many functions that I guess you can’t use them all. But there are some functions you should change, so I will tell you how.
Let’s start with “All options”.
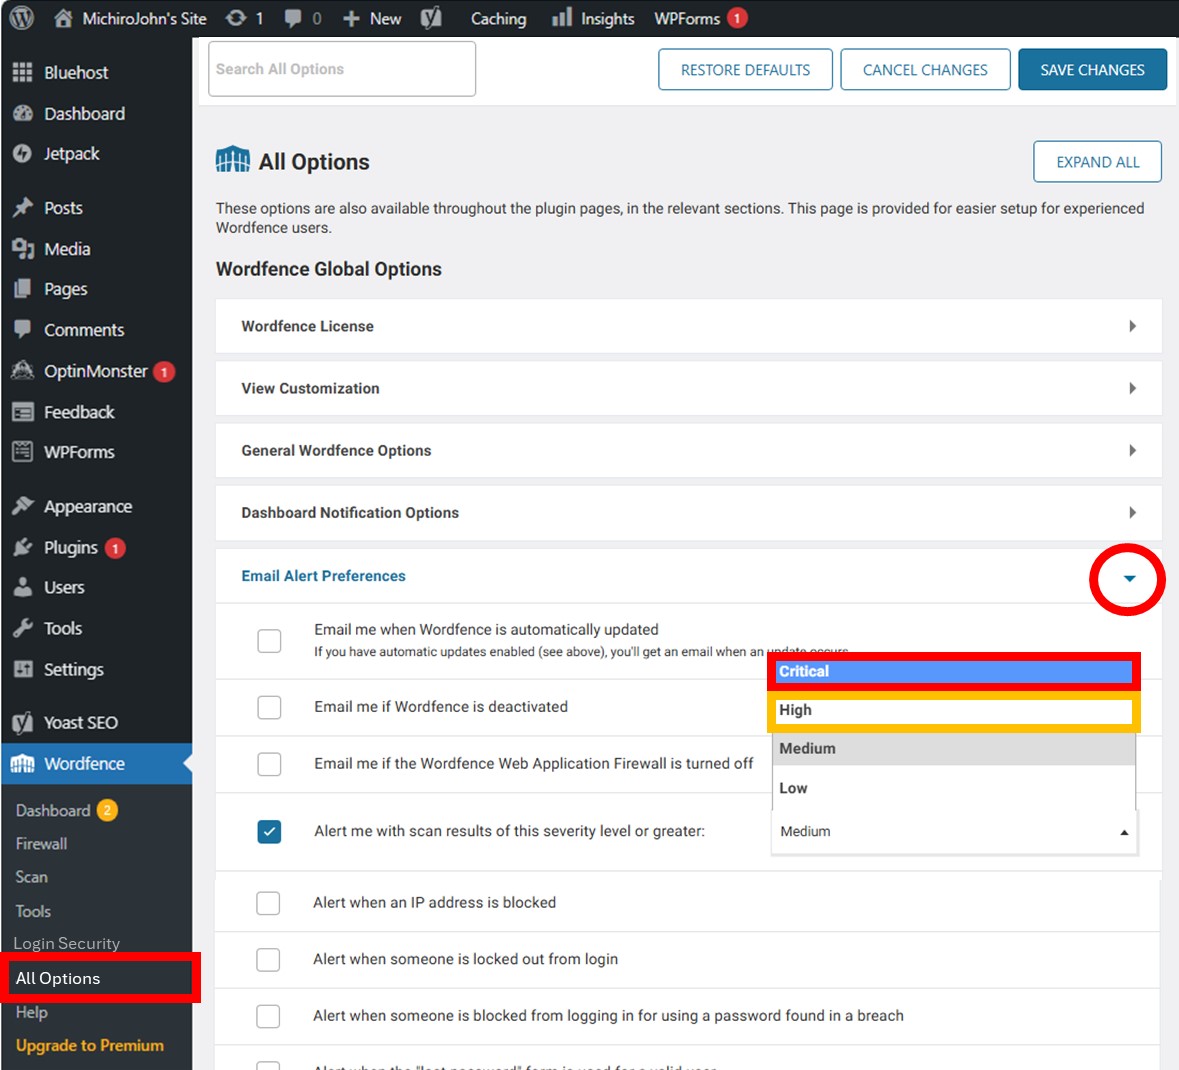
Set the email notification level to ” Critical “. This will stop receiving the emails of plugin updates. Plugin update notifications can be seen on dashboard, and if you set automatic updating, there is no need to do so. Even if you set it to “Critical”, you will still receive the emails of unauthorized access and when your site is broken.
If you keep the default setting of “Medium”, you will receive a lot of emails, so if you want to receive information about plugin updates, select ” High “.
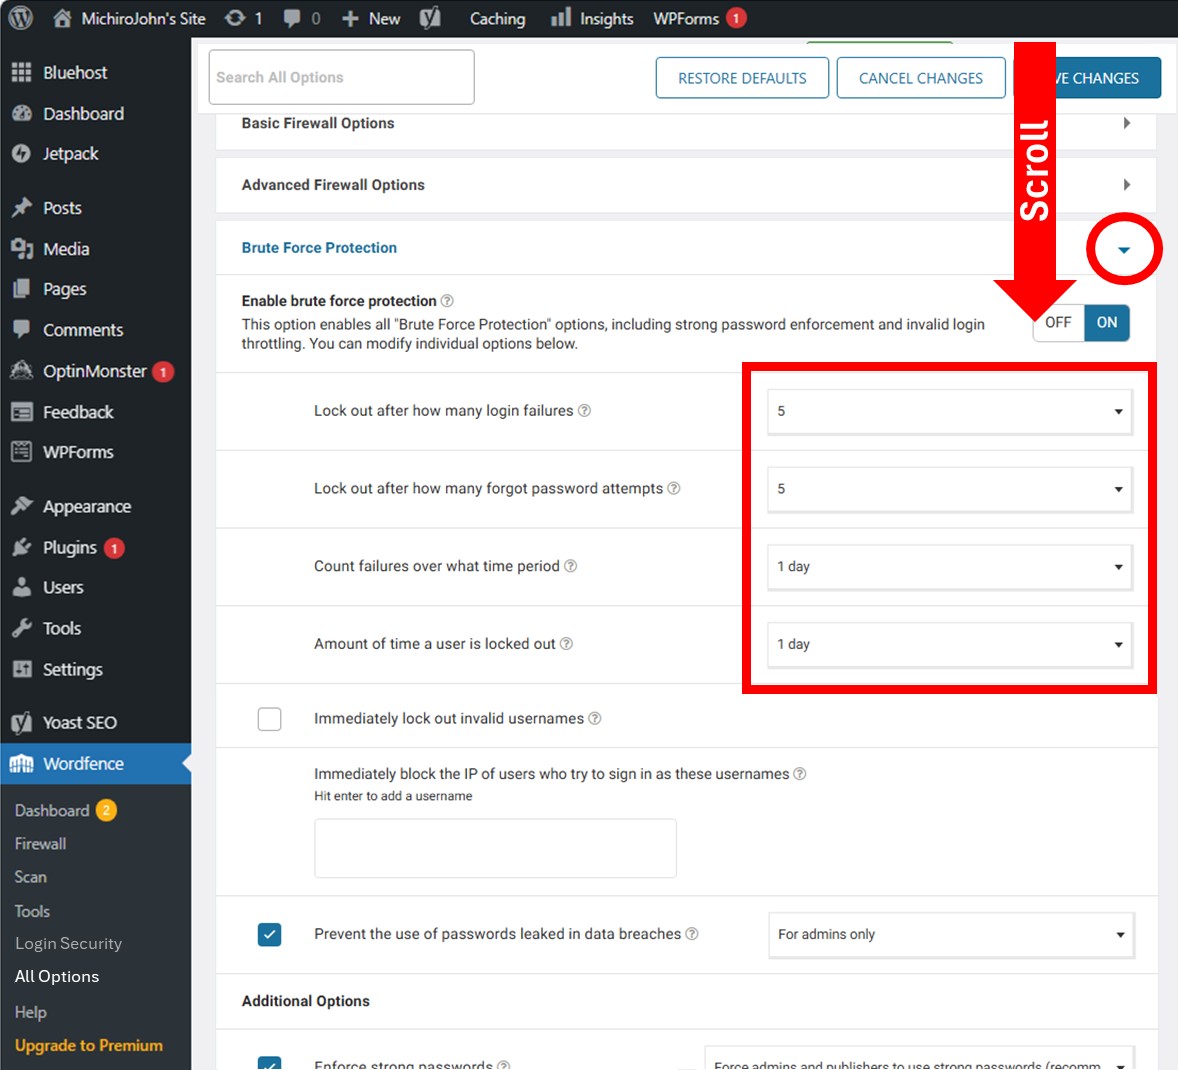
This is the login limit setting.
The default settings allow dozens of login attempts and the lockout time is short, so you should change these settings.
The setting is that, “If you fail to login five times in a day, regardless of 2FA or on login screen, you cannot access your site for one day.” It’s better to be severe like this.
Usage
To get the passwordless environment, you have to check ” Remember for 30 days ” on the 2FA screen.
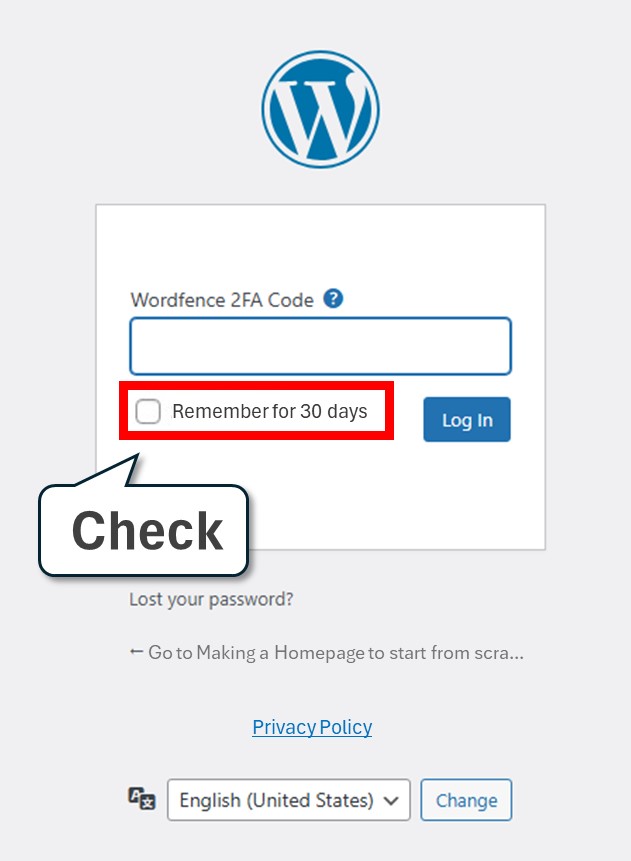
In fact, this is not passwordless environment completely. Login screen will appear when you don’t access for a long time. However, it does not mean that you have to login every time. You can reduce the work significantly.
After that, all you have to do is just waiting for Wordfence’s reports. It automatically scans for computer viruses. And it also notifies you for any suspicious (or unauthorized) access by emails. Jetpack does not have this feature. It even notifies when your site is broken or your server is down. This feature is that Jetpack also has.
The notification emails are like this.
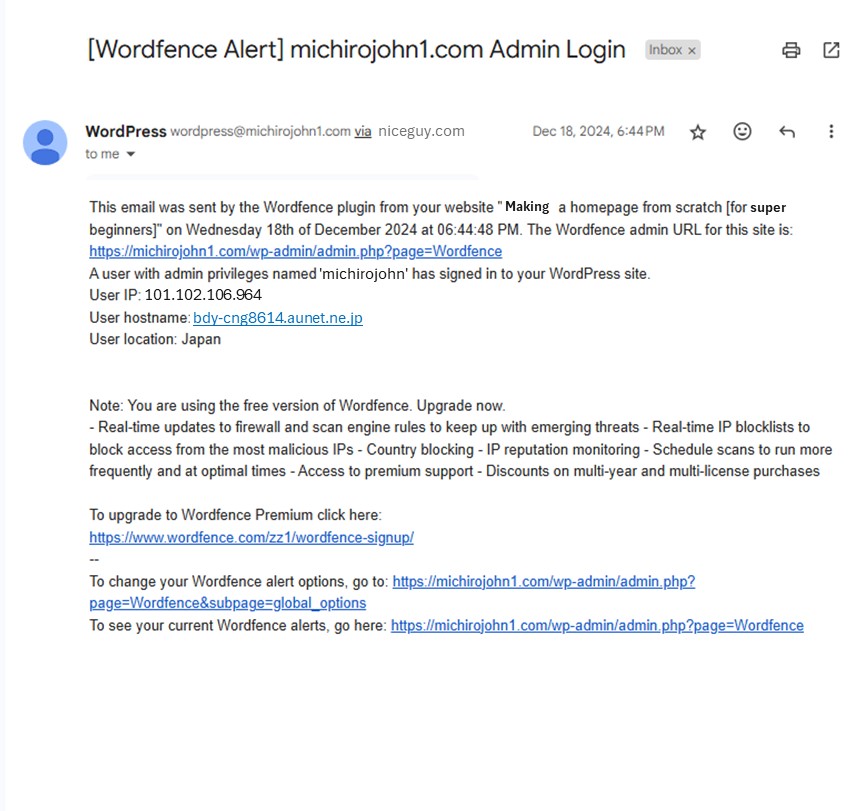
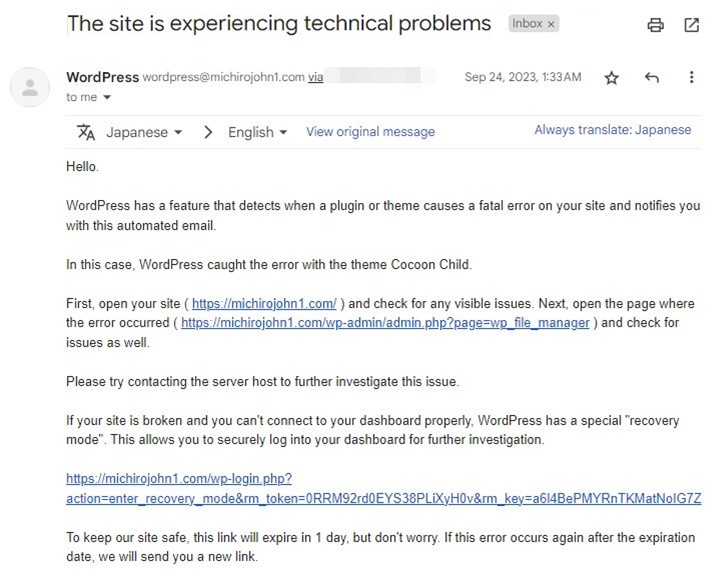
The emails about Admin-Login are sent even when you access the site from different internet environment. However, if you access the site from another computer using the same internet environment, you don’t receive this email.
Sometims it becomes hard to tell whether the access is unauthorized or not. But it will become easier to tell by checking ” Login Attempts “.
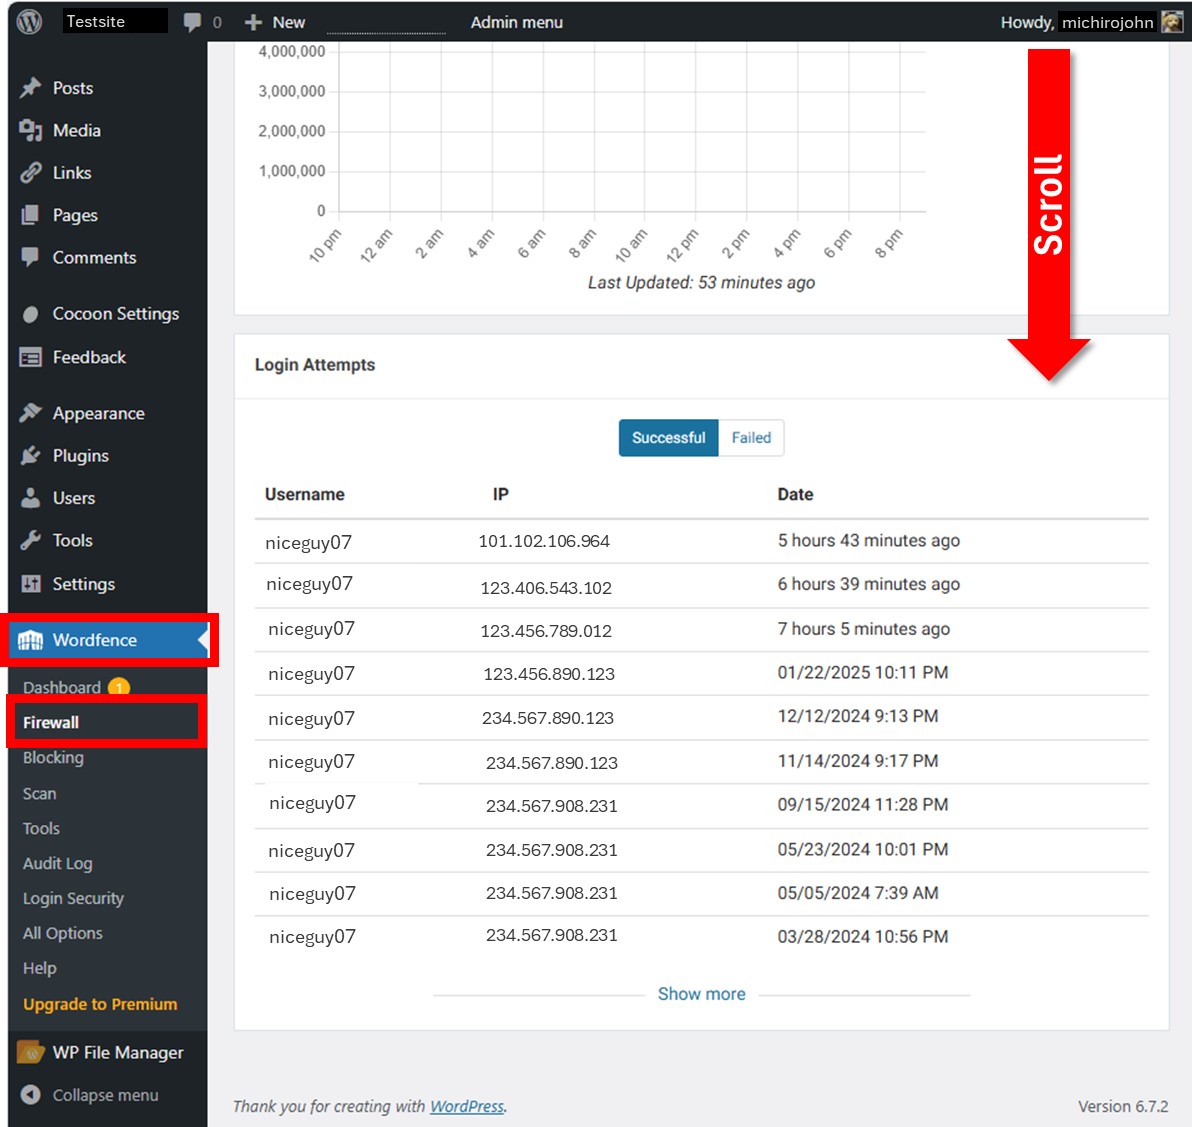
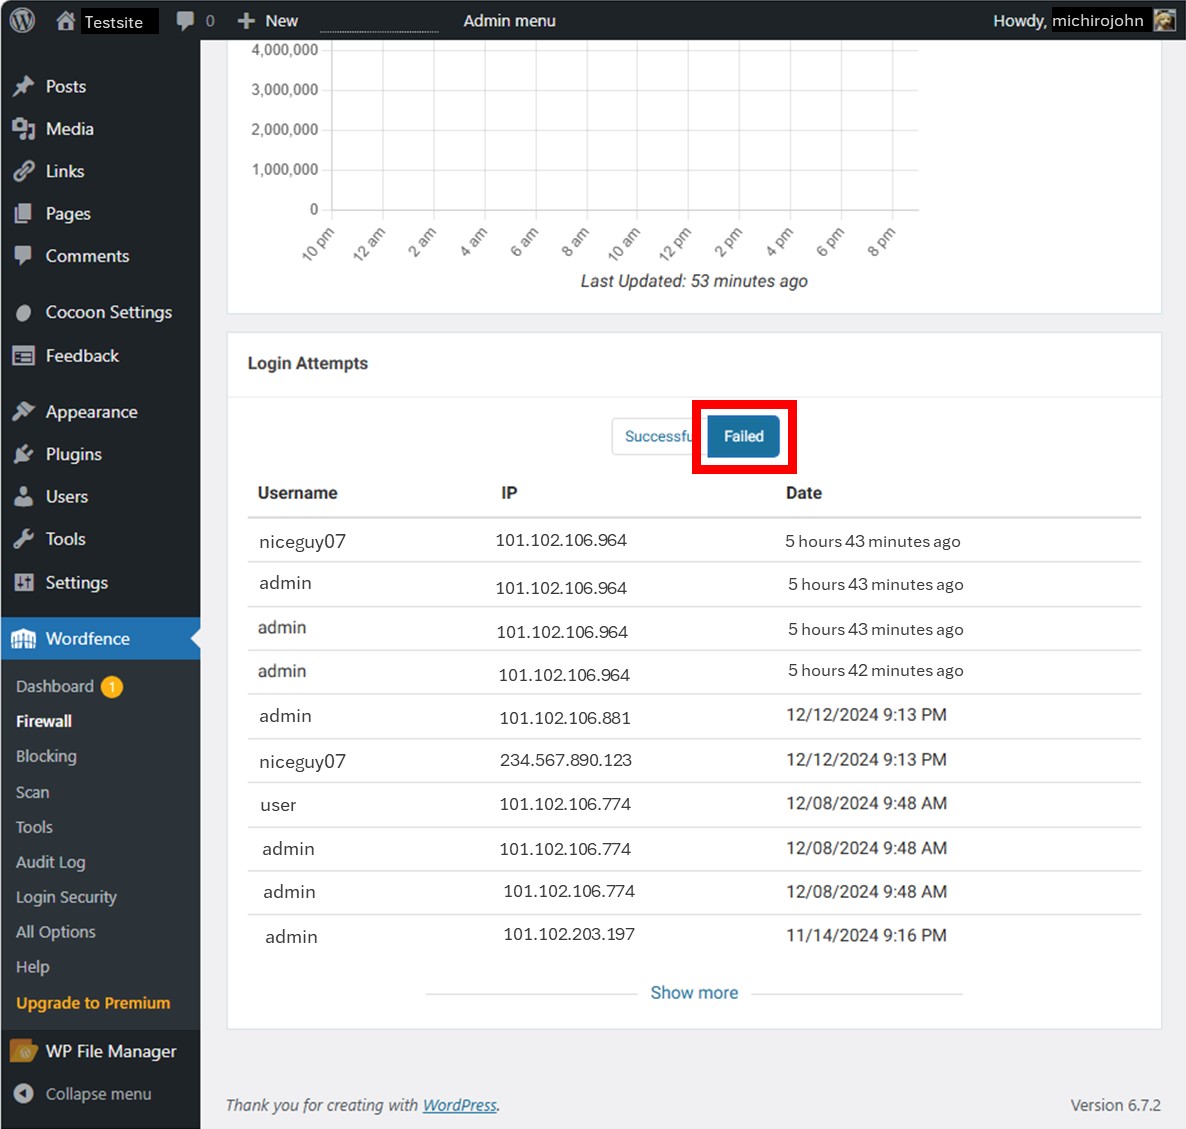
Let’s press “Failed.” Hackers often fail before they succeed.
Most internet environments use “dynamic IP addresses” that change IP periodically. So be careful not to confuse it with your own IP address. By the way, Wordfence does not send an email when its own IP address is changed.
If you find out your site is hacked, you disable this IP address immediately.

Once blocked, change your password.
After that, disable 2FA and set it up again.
The hacker will have to get your 2FA code again.
Wordfence vs. Jetpack — Free Version Battle
Both plugins are excellent for security. Jetpack is the most convenient all-in-one software, but that’s only on the paid version. What about the free version ?
I will compare them.
| measures | Wordfence | Jetpack |
|---|---|---|
| Passwordless | △ | ✔ |
| 2FA | ✔ | – |
| Virus scan | △ | ✔ |
| Virus removal | – | – |
| Access log | ✔ | △ |
| Activity log | – | ✔ |
| File tampering | – | △ |
| Login notification | ✔ | – |
| Site-down notification | ✔ | ✔ |
Neatly staggered……
It looks like more effective to install both (^^;.
The free version of Wordfence searches the computer viruses by 30 days delayed data. But it’s not a critical problem because WordPress also sends virus reports. We can notice the virus from this report. Jetpack can search viruses by the newest data. However, both free versions cannot remove viruses.
In Jetpack, you can find the file tampering from the activity log. But you cannot receive an email saying like ” Your file has been tampered with.” If you suspect the unauthorized access, you need to go and check the activity log by yourself. If someone will edits your file, that is tampering.
In Wordfence, you have to upgrade to the paid version. It changes “audit log” to an event log.
Login notifications are available in the free version of Wordfence. Jetpack is available in the paid version. But it just sends this notification to the logged-in screen, only the hacker can see it. The way to confirm it for users is to check the activity log frequently.
It is like this.
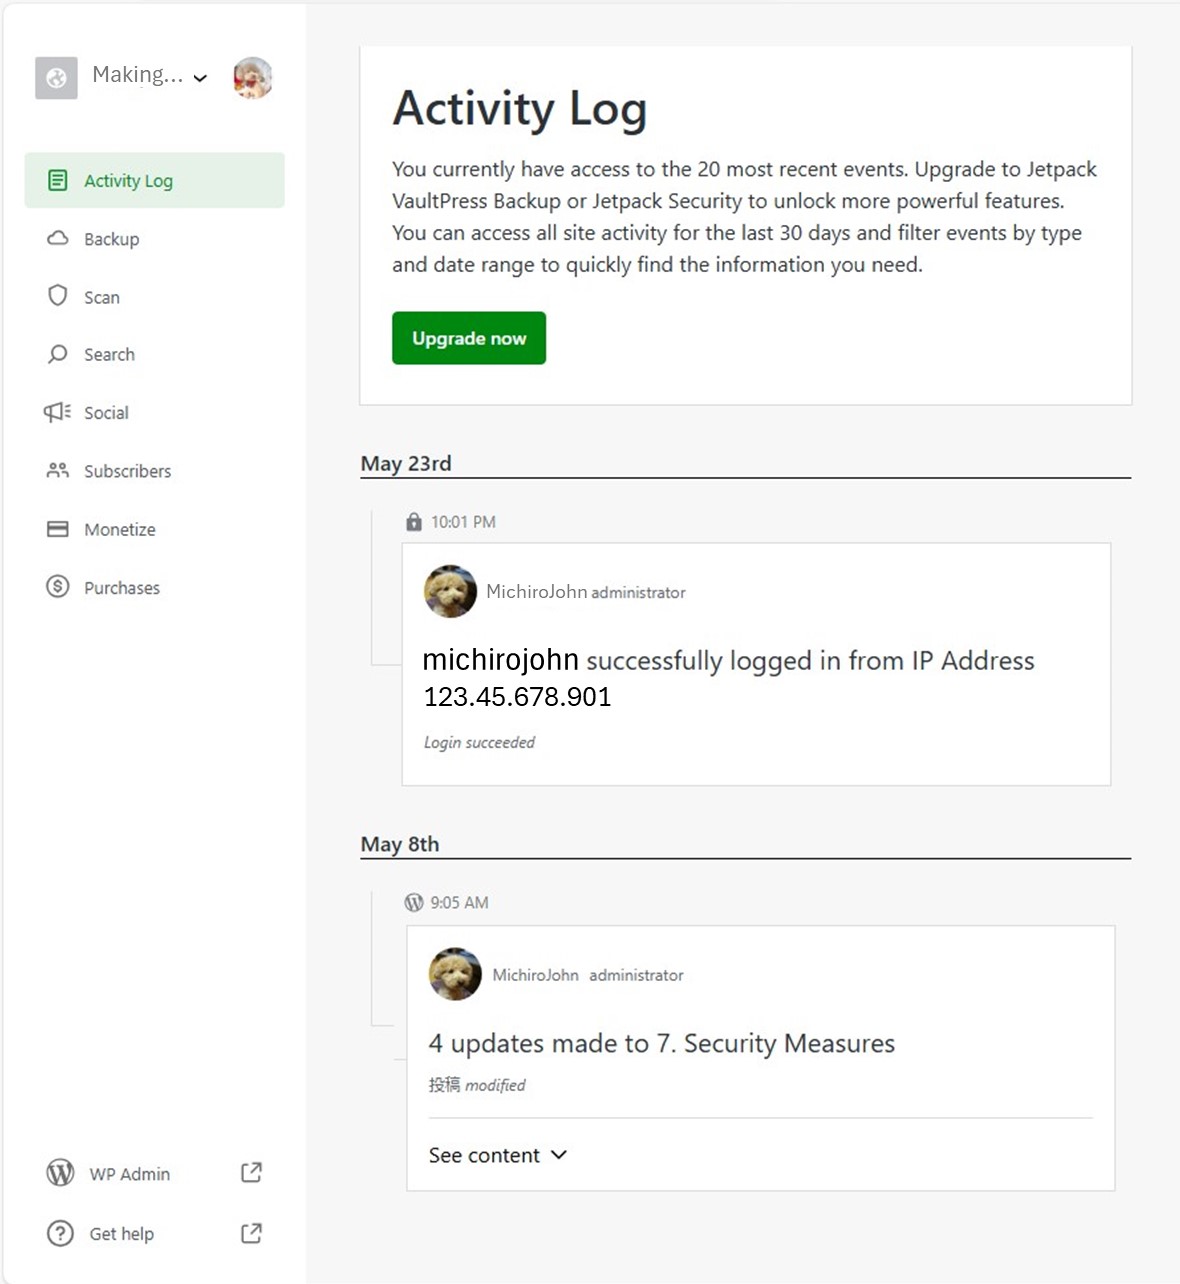
It can be difficult to understand because the hostname (internet provider) is not listed. Wordfence lists the hostname in the email, its IP address, and you can review it from the screen. As a security plugin, Wordfence is undoubtedly the winner.
Of course, Jetpack has many good points. The access analysis is user-friendly and outstanding. The activity log is useful for file tampering. As Wordfence puts little strain on the system, it’s no problem using with Jetpack, which puts a bit strain on the system. Using both can improve security.
You should install both of Wordfence and Jetpack
Thank you for reading.
If you feel this article “Like!”, click the ads below ⇩⇩
Your click makes my affiliate income. It motivates me (^^;.
If you give a tip ——
Leave a comment(コメントを残す)