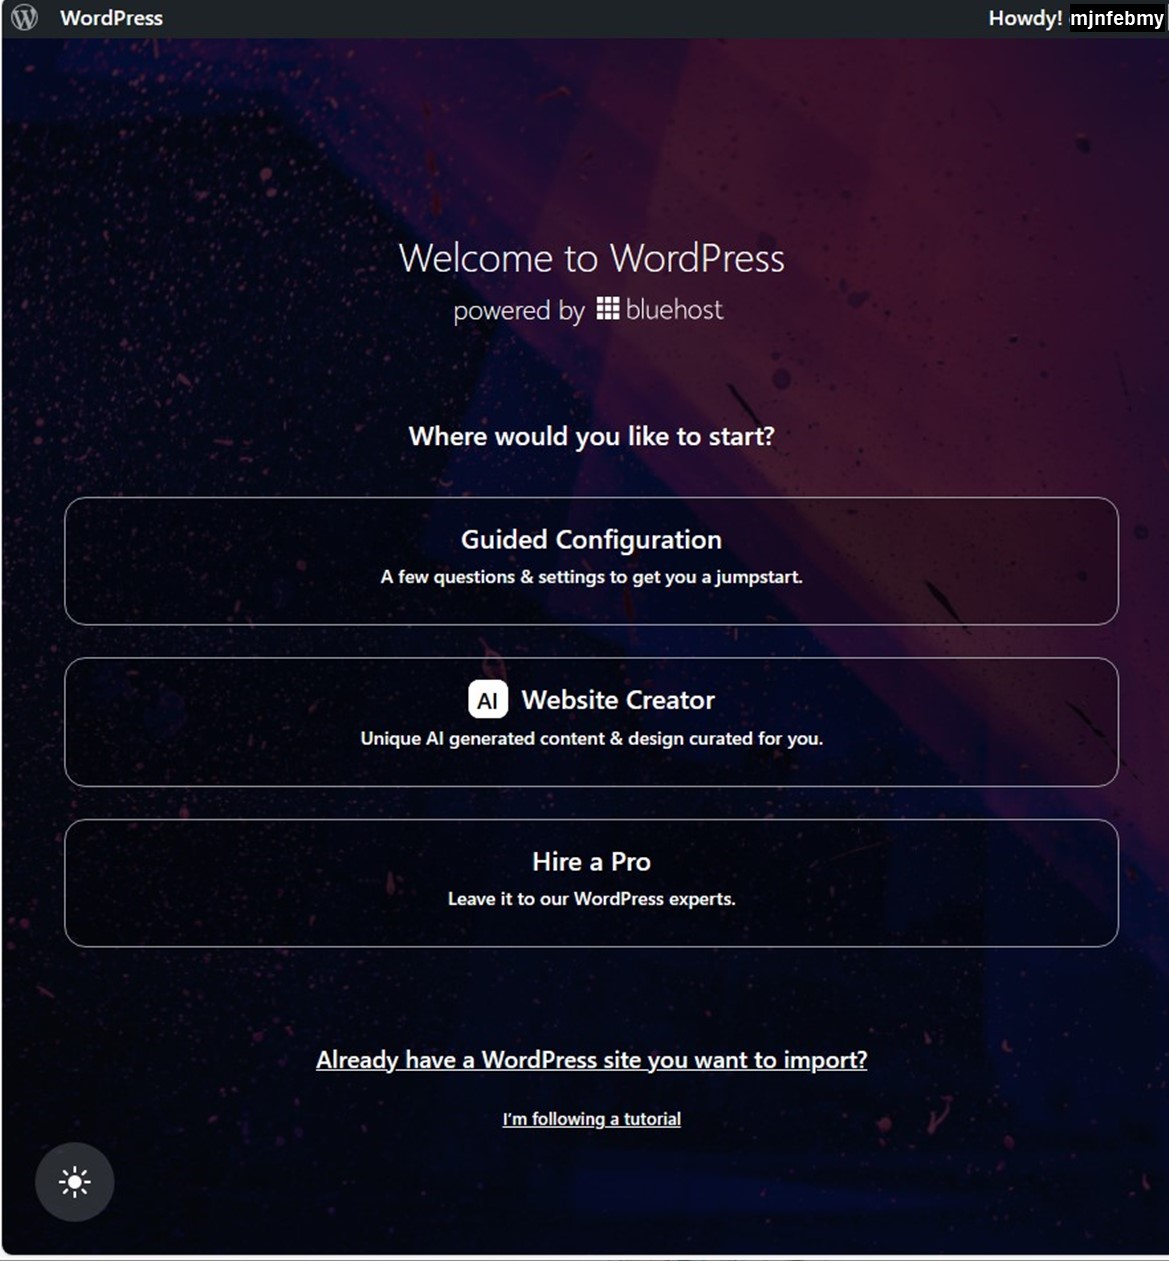
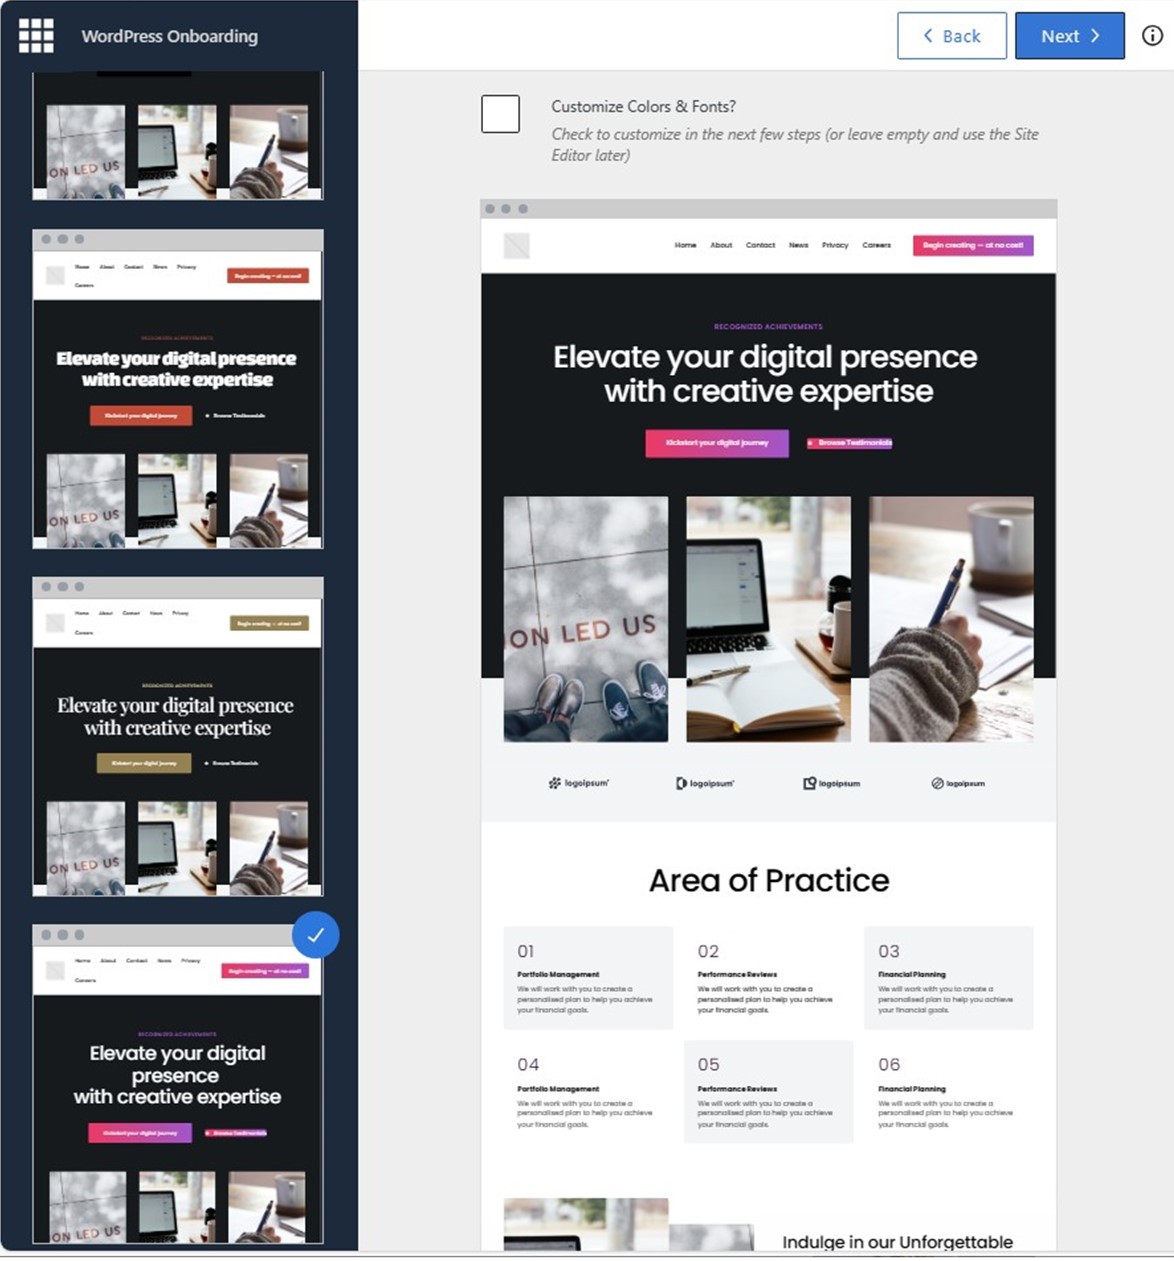
Bluehost prepares a navigation to make a site for your purpose. This navigation is so excellent that you can make a smart site quickly.
SSL a site
Bluehost have the encryption from the beginning. But seeing a site, you might be afraid that the encryption is not running.

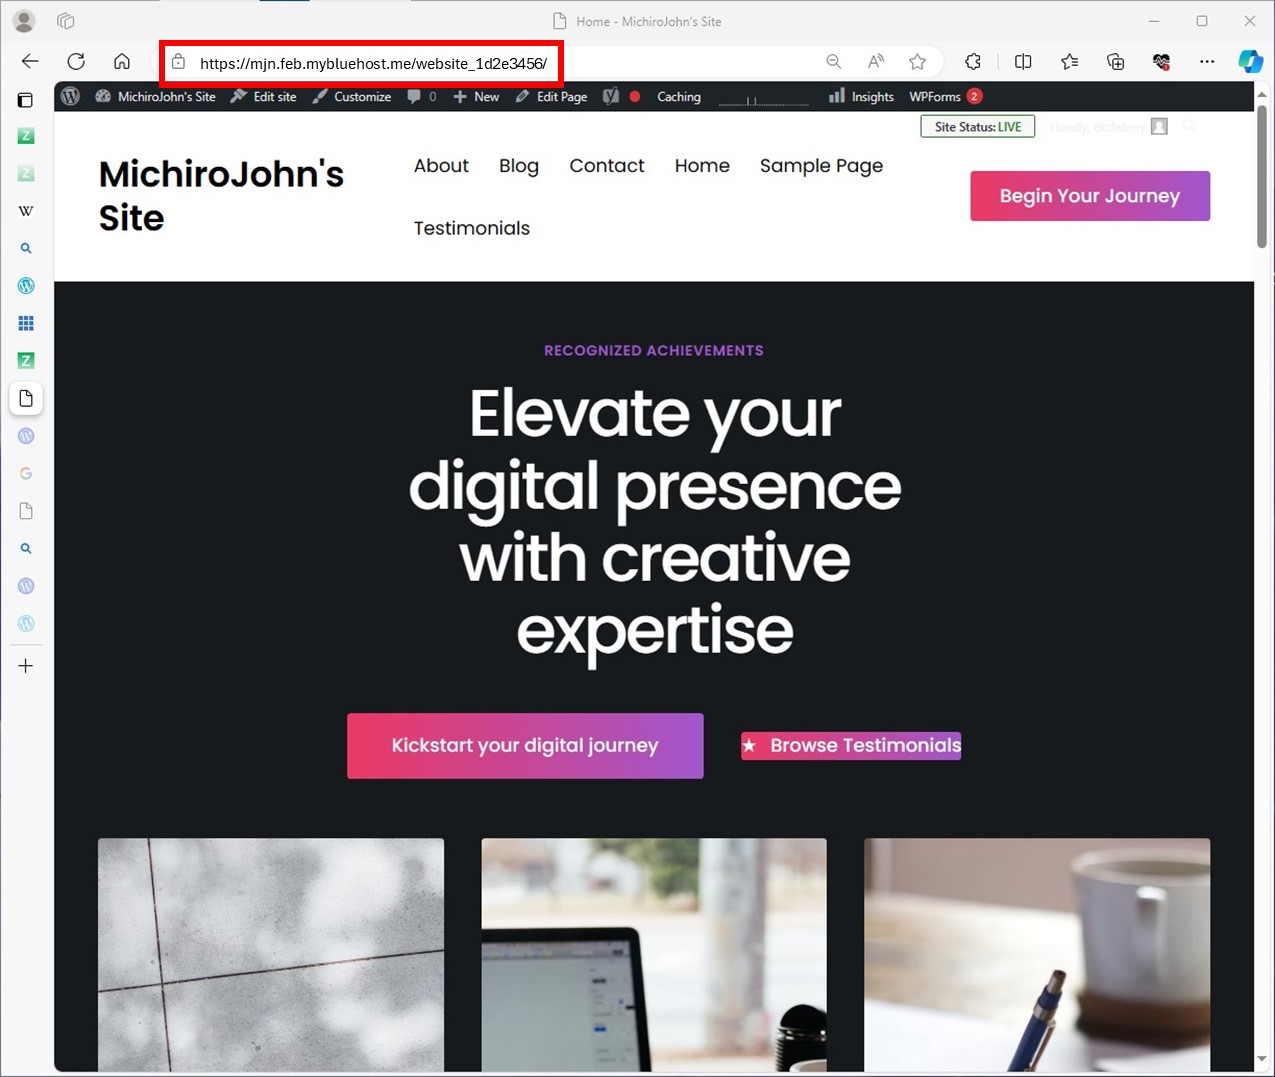
The site’s URL is sometimes started from ” http:// “. It looks like no encryption, however, to see the address bar, URL starts from ” https:// “. So it is not necessary to change it. When you add Cloudflare, this URL changes to ” https:// ” automatically.
Nothing to say, it’s much safer not to change URL.
Configure Jetpack connection and security
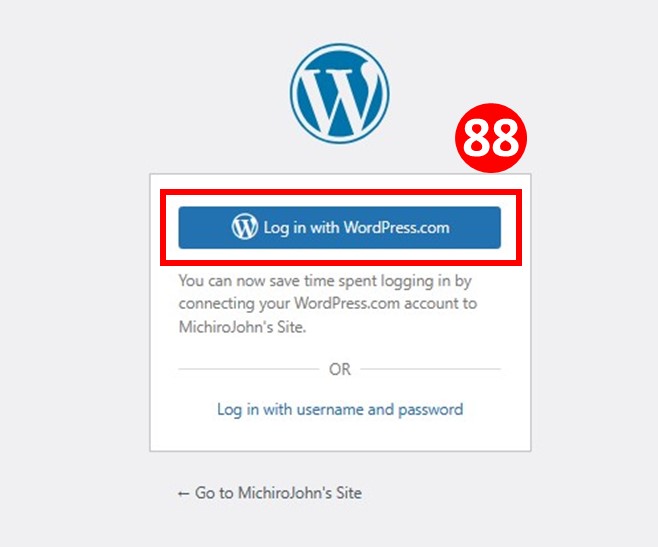
Bluehost collaborates with Jetpack. To use Jetpack, it’s better to get WordPress.com account ( if not, Click here ).

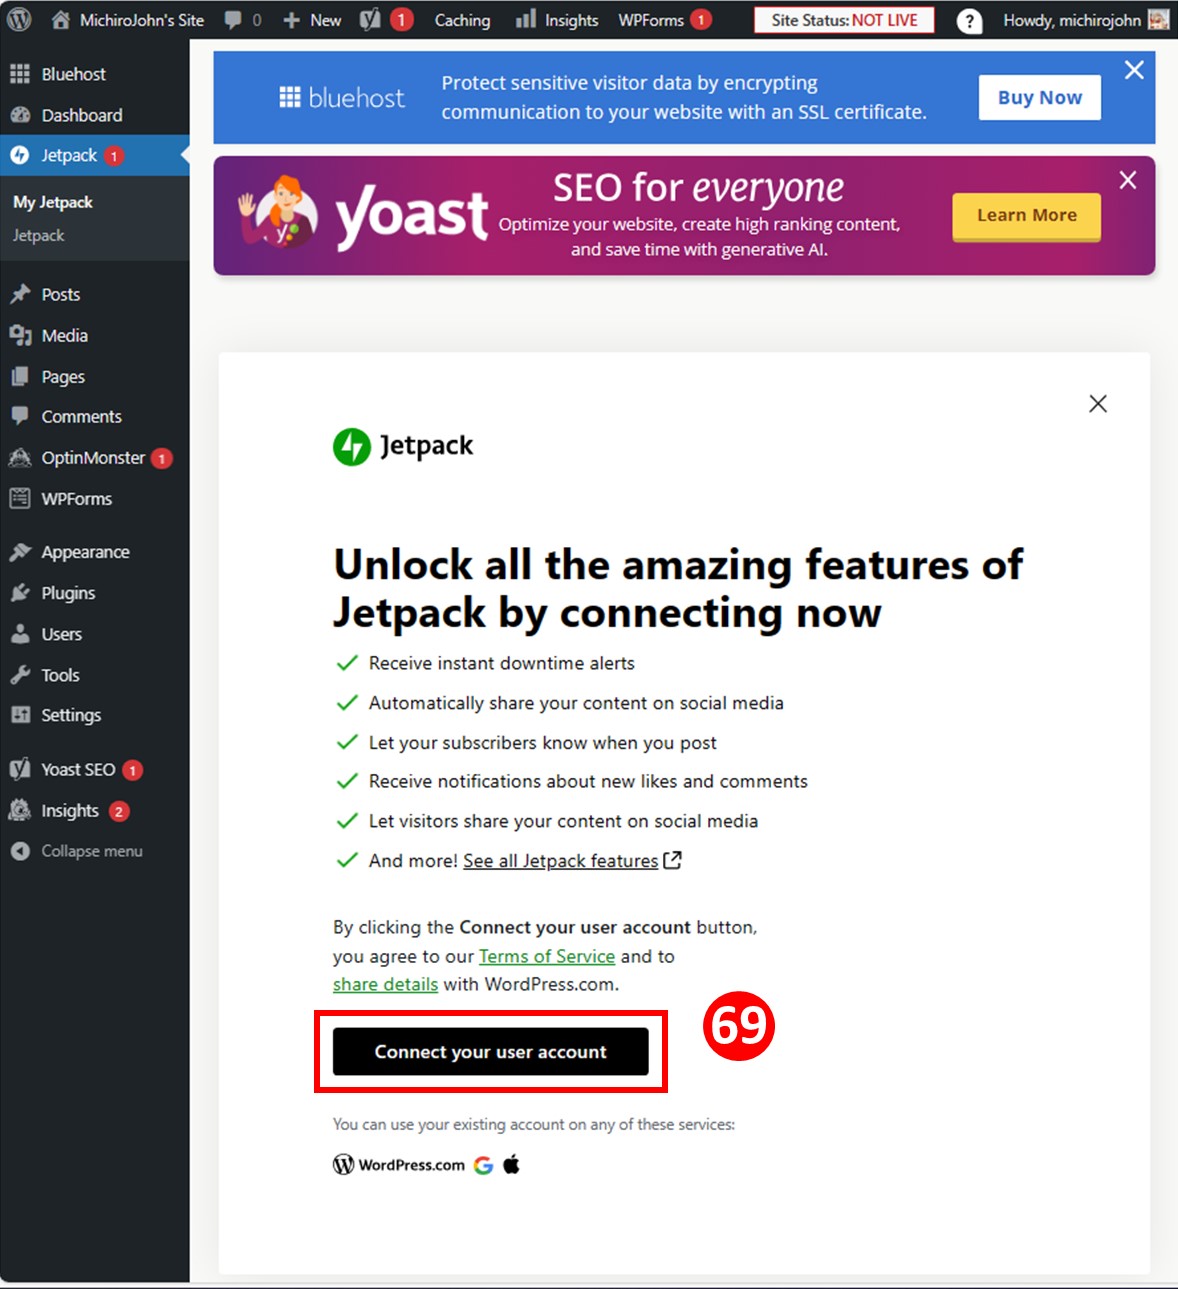
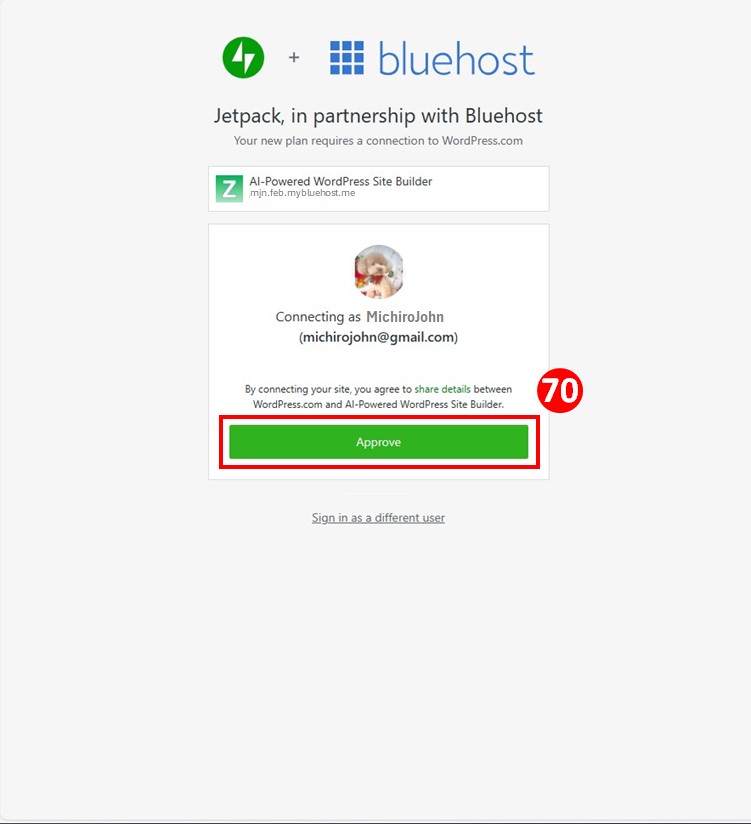
Doing this, you can access your sites directly with one click.
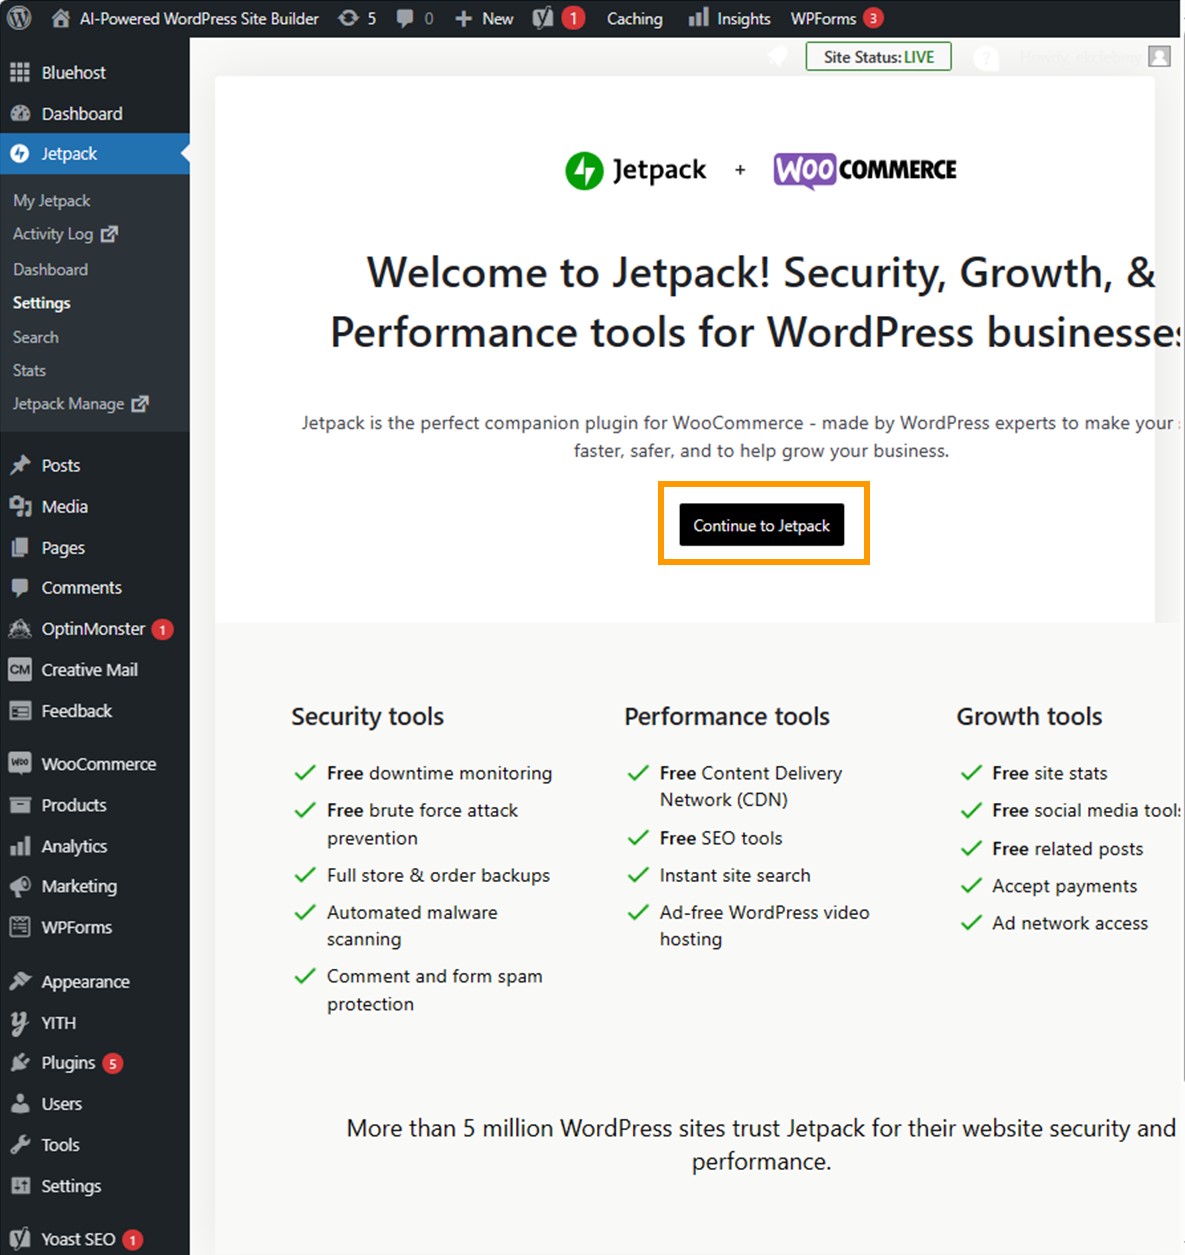
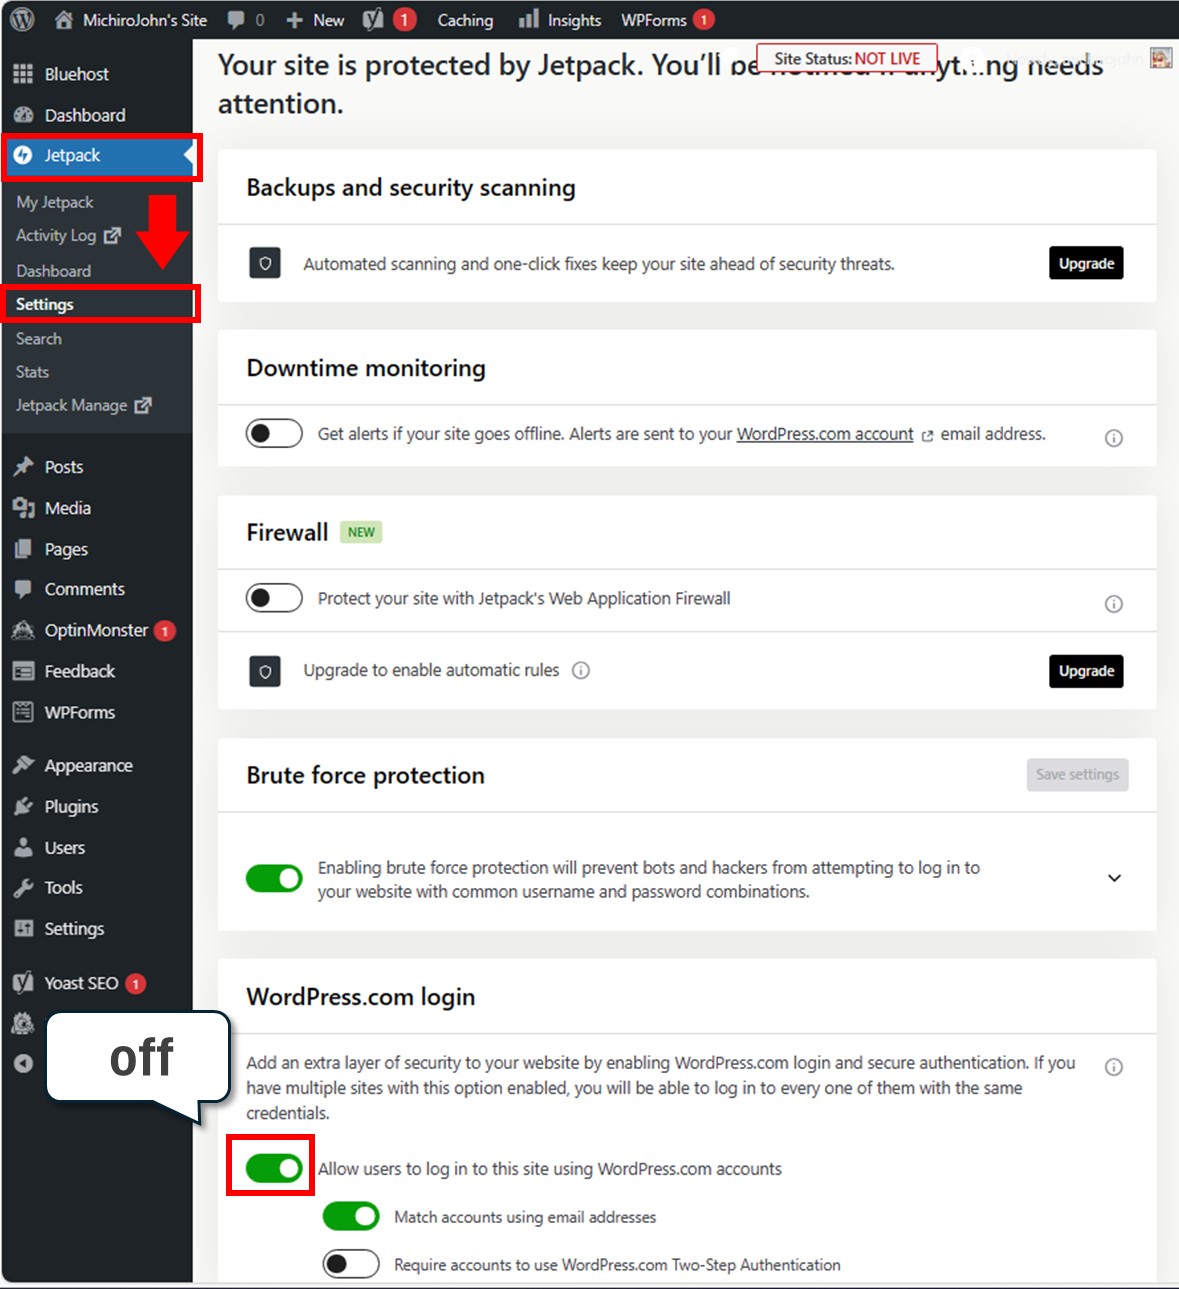
You also should configure Jetpack’s security.
Doing it like this.

If you check “Downtime monitoring”, you can receive an alert when your site is broken or offline. It measures the destruction by hackers.
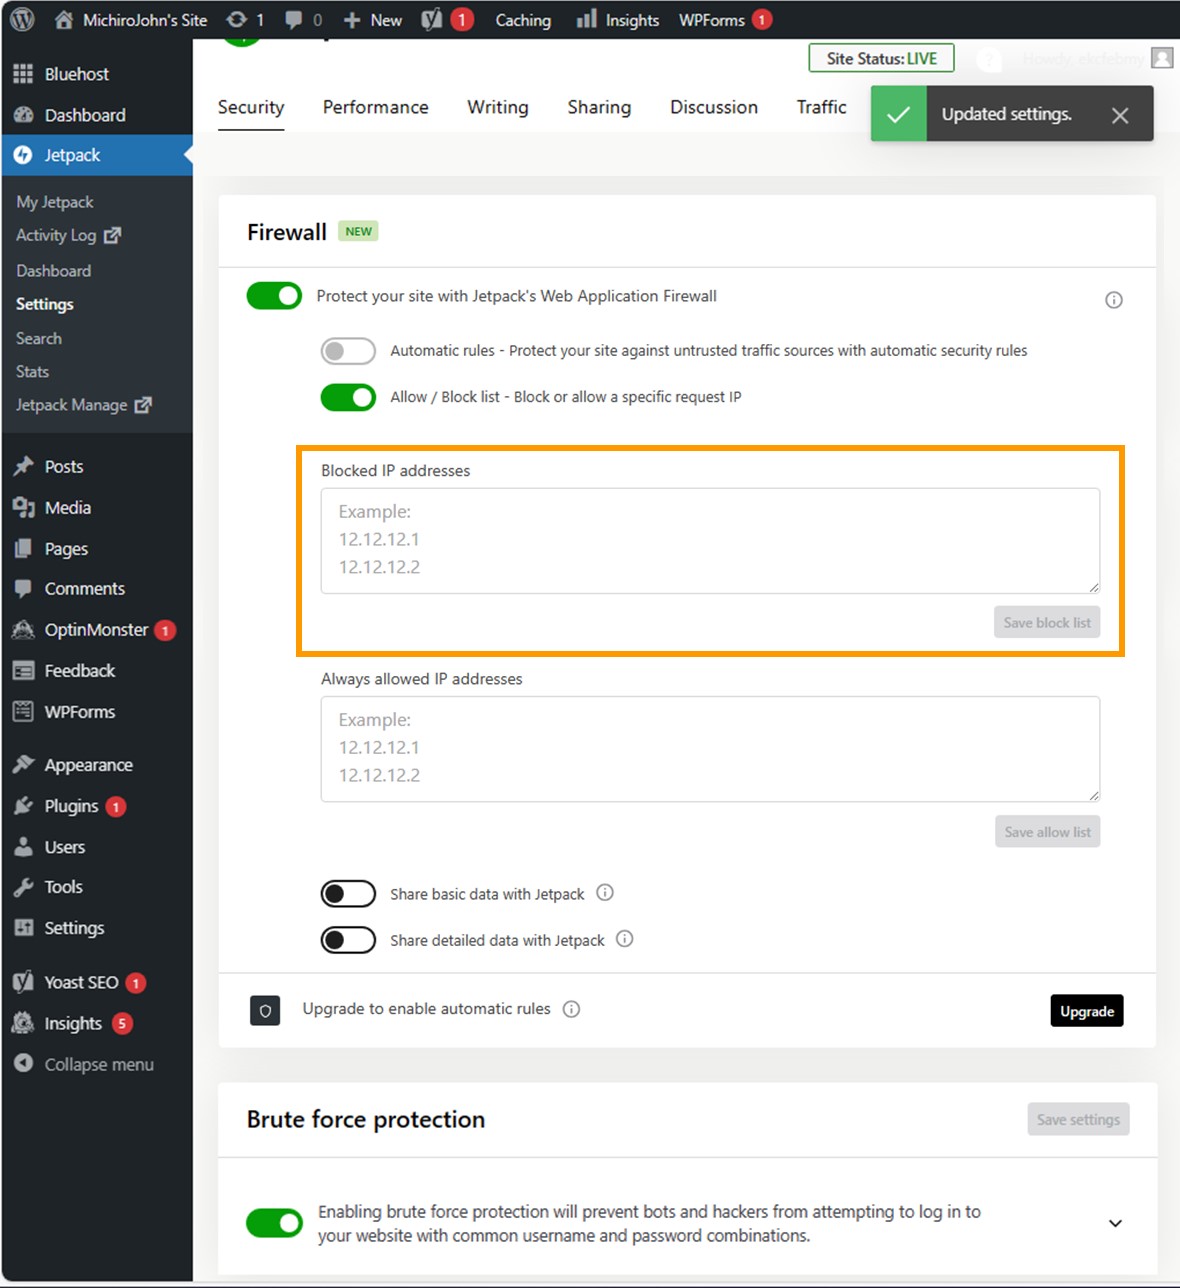
“Firewall” is not needed because SiteLock is already running on Bluehost. If you want to use a block list (blacklist), you activate “Firewall” then activate “Allow Block list”.
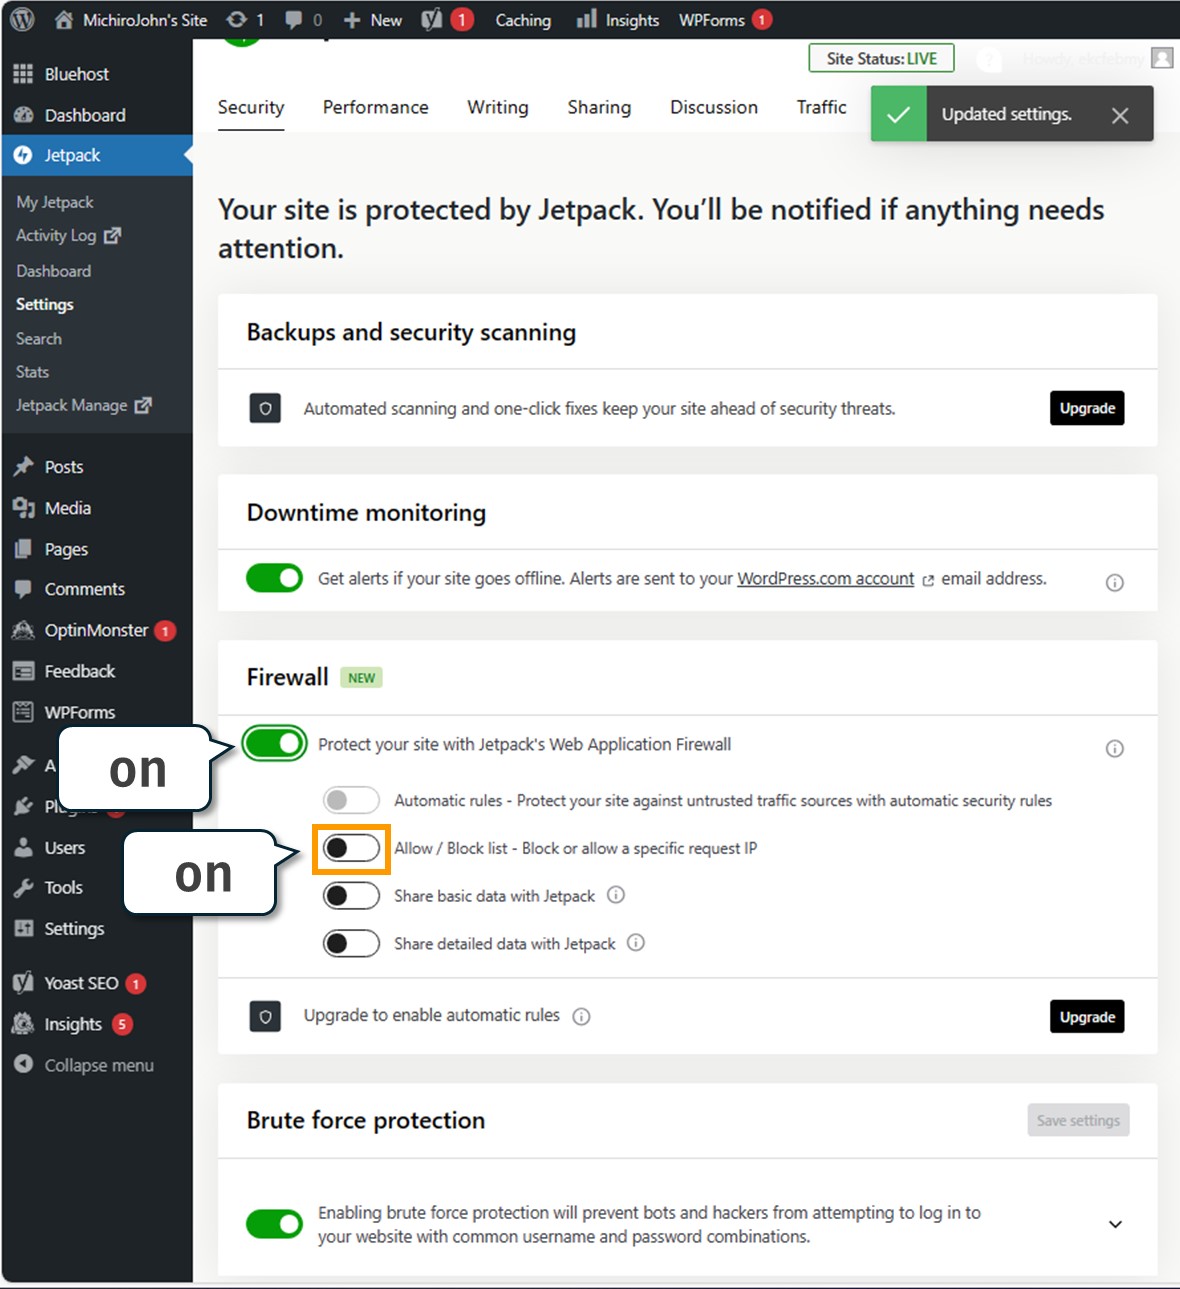
“Brute force protection” limits the login attempts to 20 times. After the 10th attempt, Jetpack requests a simple question every time. It means that Brute Force Attack would be stopped at the 10th time.
By the way, this is not a limitation to Bluehost’s server. The sever itself limits the login attempts to 5 times.
Set a website icon to your desktop
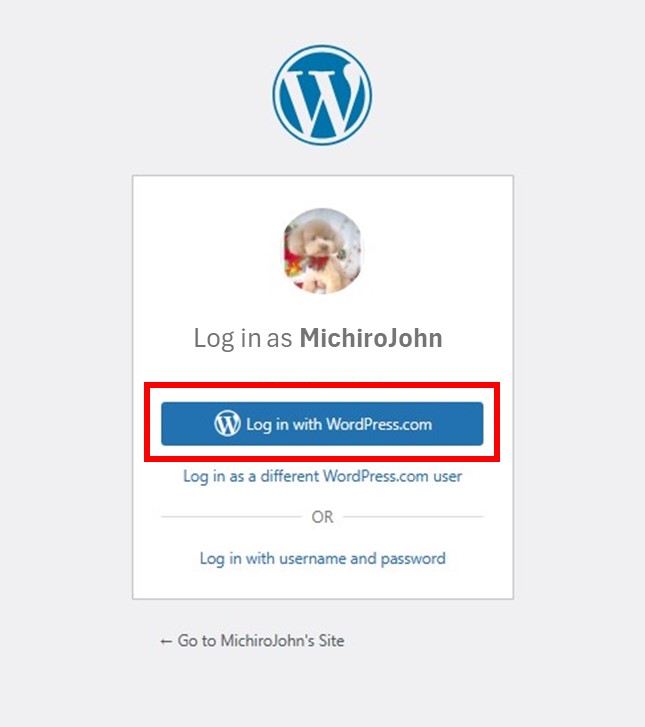
If you set a website icon to your desktop, you can access your site directly. “WordPress.com login” allows you a password-less login.
But in Bluehost, it’s not sure what the password is.
You must configure it first.
After you go to the profile of your site, set a new password. Like this.
The save button ( updating the profile ) is there at the farther bottom.
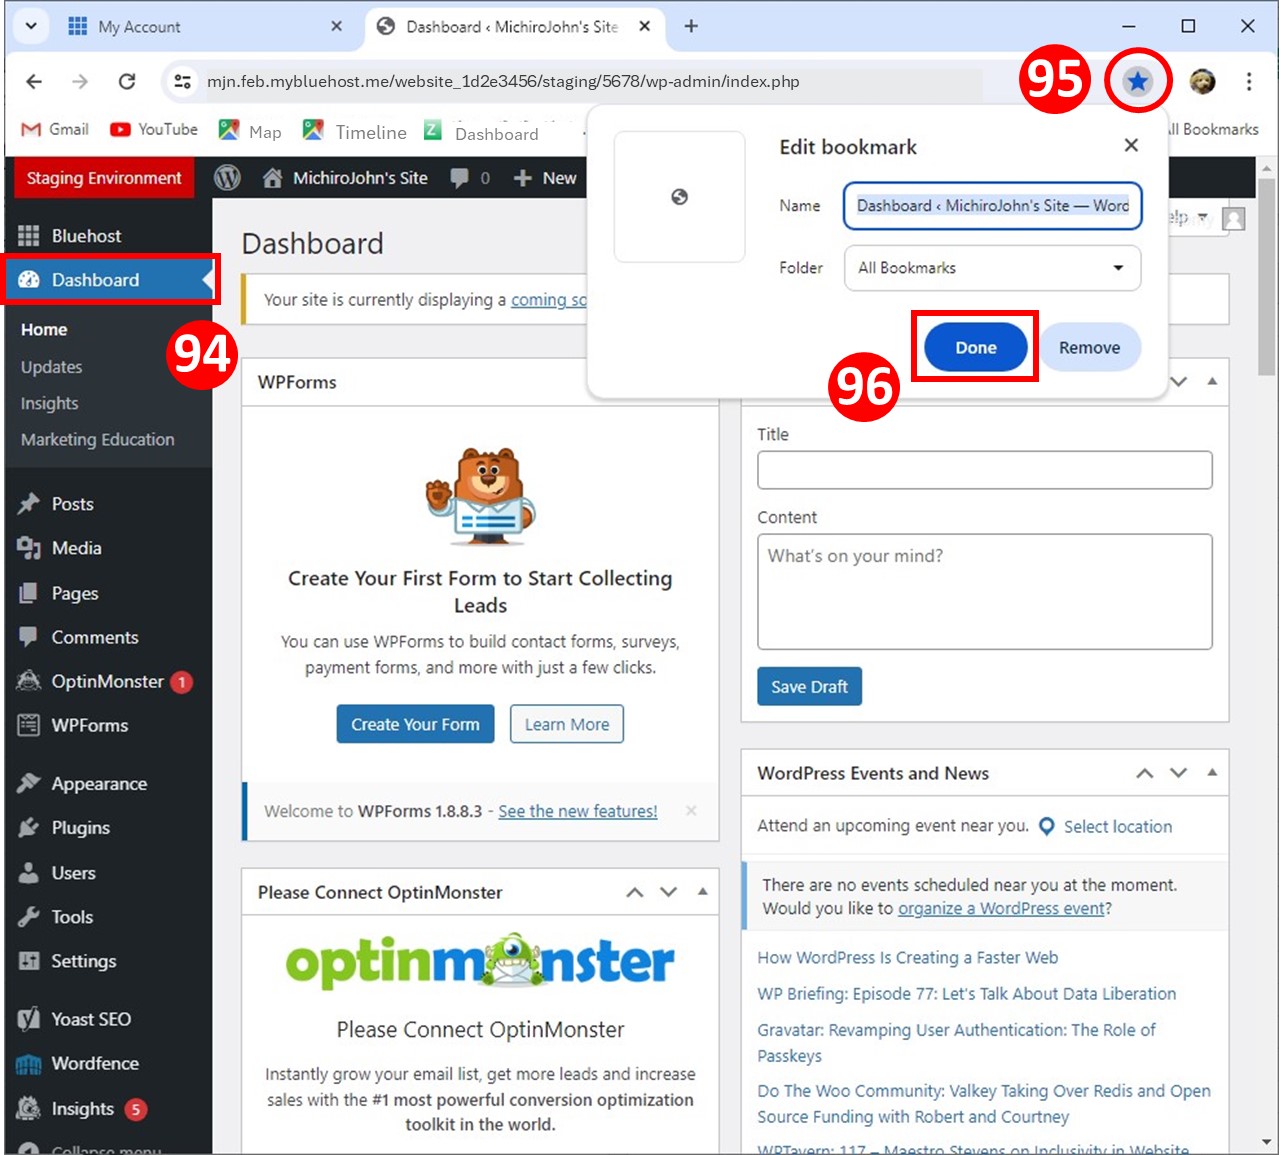
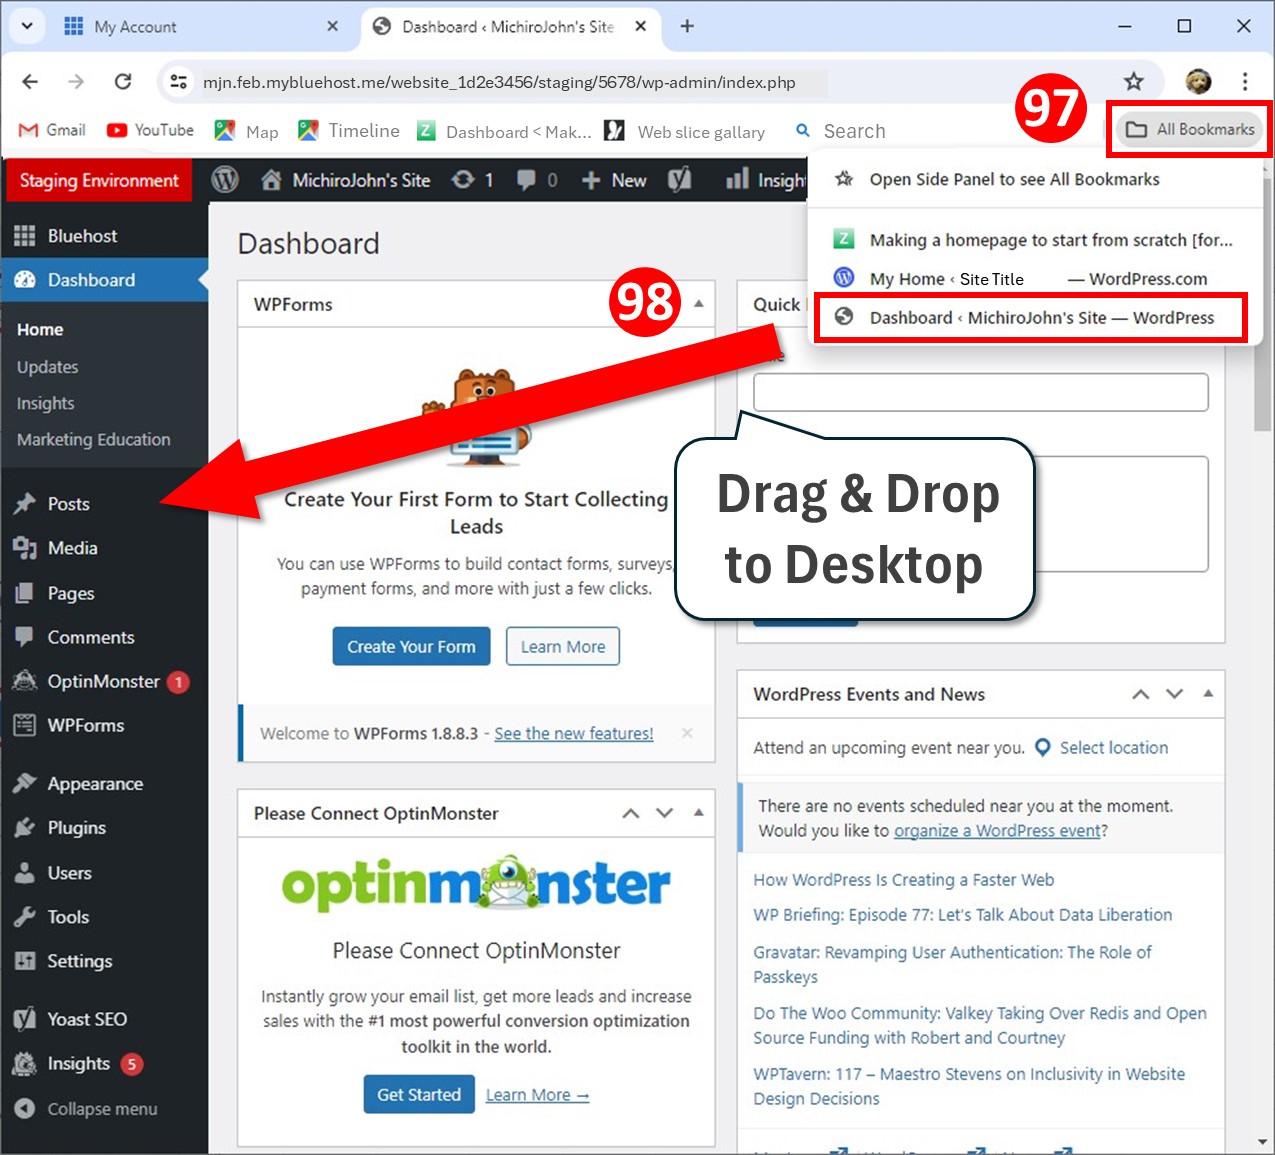
After you can know your ID & password, set a site icon to desktop.
Doing this, you can access the dashboard directly.
When you are using Microsoft Edge, making an icon to desktop is done like this.
When you press this icon on the desktop, a login prompt is appeared. When you press the button ![]() , you are requested to enter ID & password. It’s better to use the text which you saved above. After you succeeded to verify, you can access your site directly with one click (
, you are requested to enter ID & password. It’s better to use the text which you saved above. After you succeeded to verify, you can access your site directly with one click (![]() ).
).
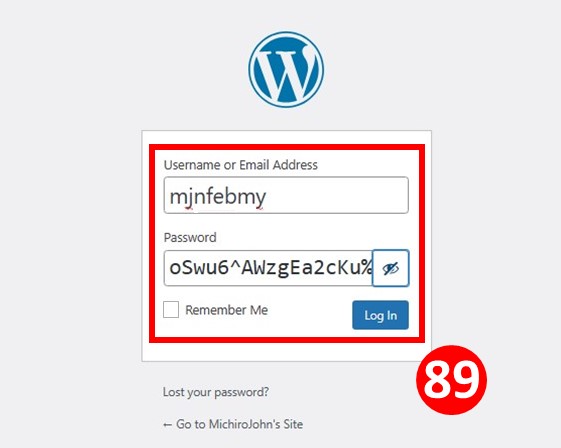
There doesn’t need to check ” Remember Me “, when you will use this WordPress.com login.
Staging a website
Bluehost has an excellent function to make a clone site, which can edit your site without editting a site directly. It is quite useful for changing an entire site or correcting the conflict with plugins. You should configure it.
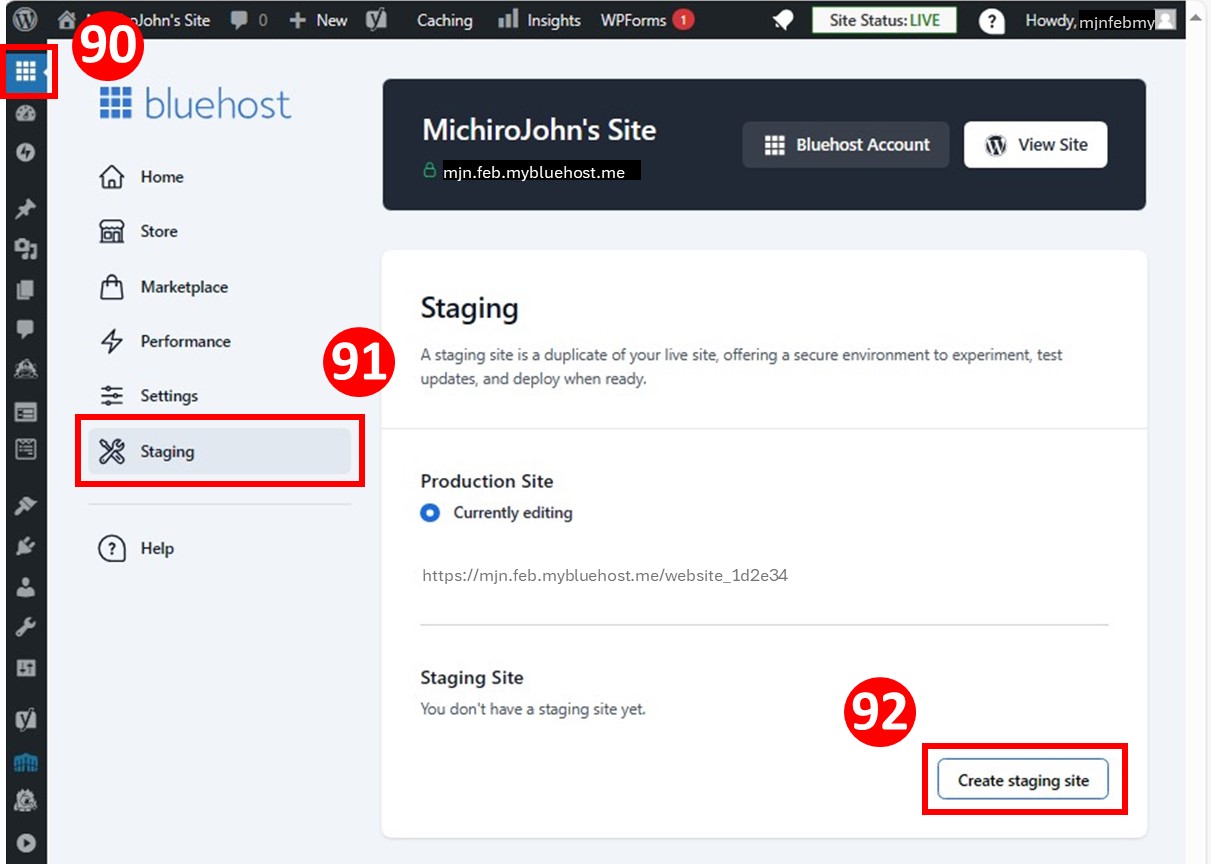
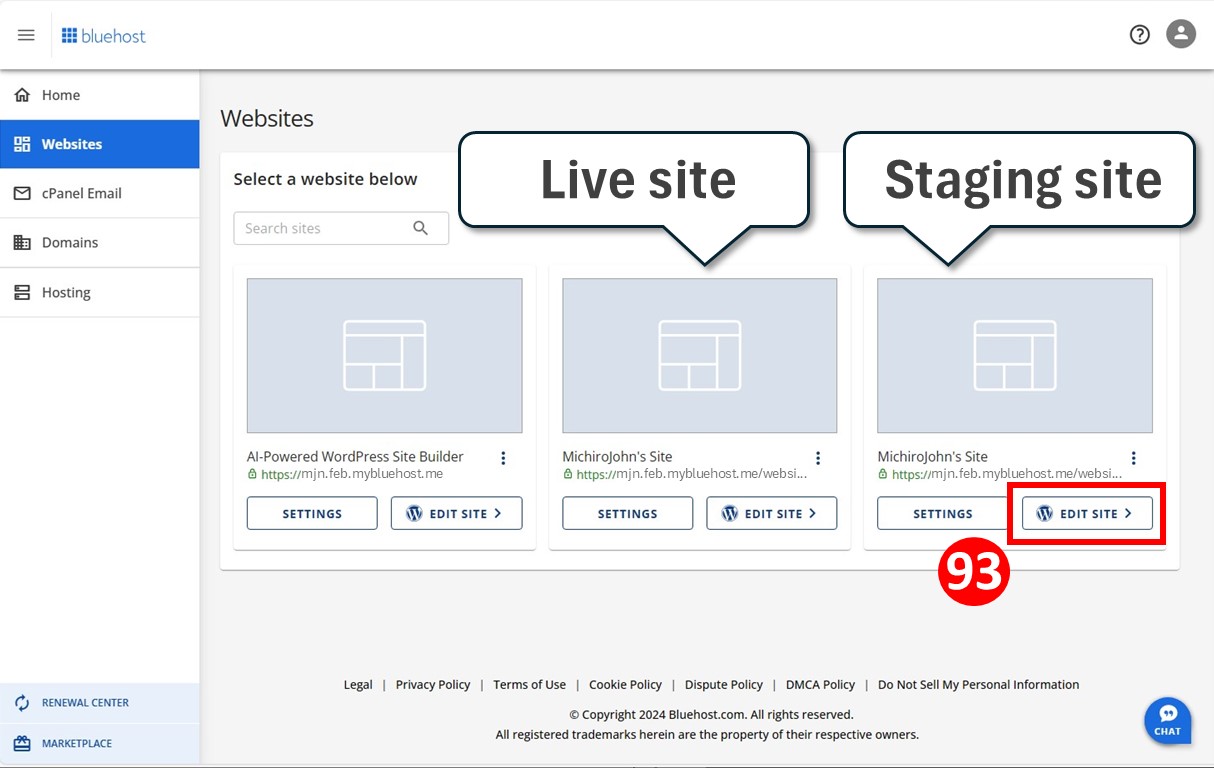
Let a staging site make an icon on the desktop, too.
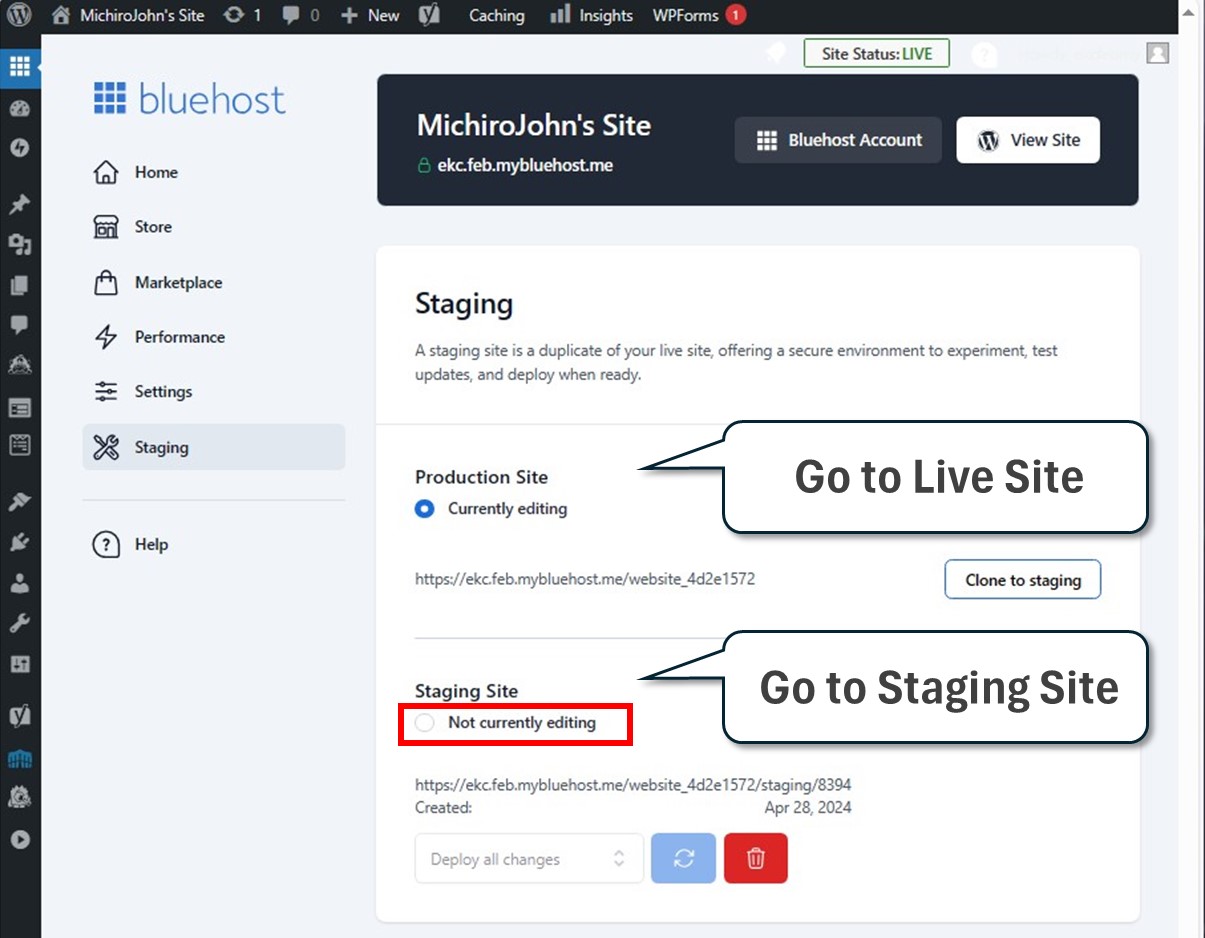
All your editing ( including the updates of plugin ) should be done on this staging site. When you don’t find anything of trouble after updating or editing, you go to Bluehost plugin then push “deploy”. If you find something of trouble, you delete this staging site then remake it.
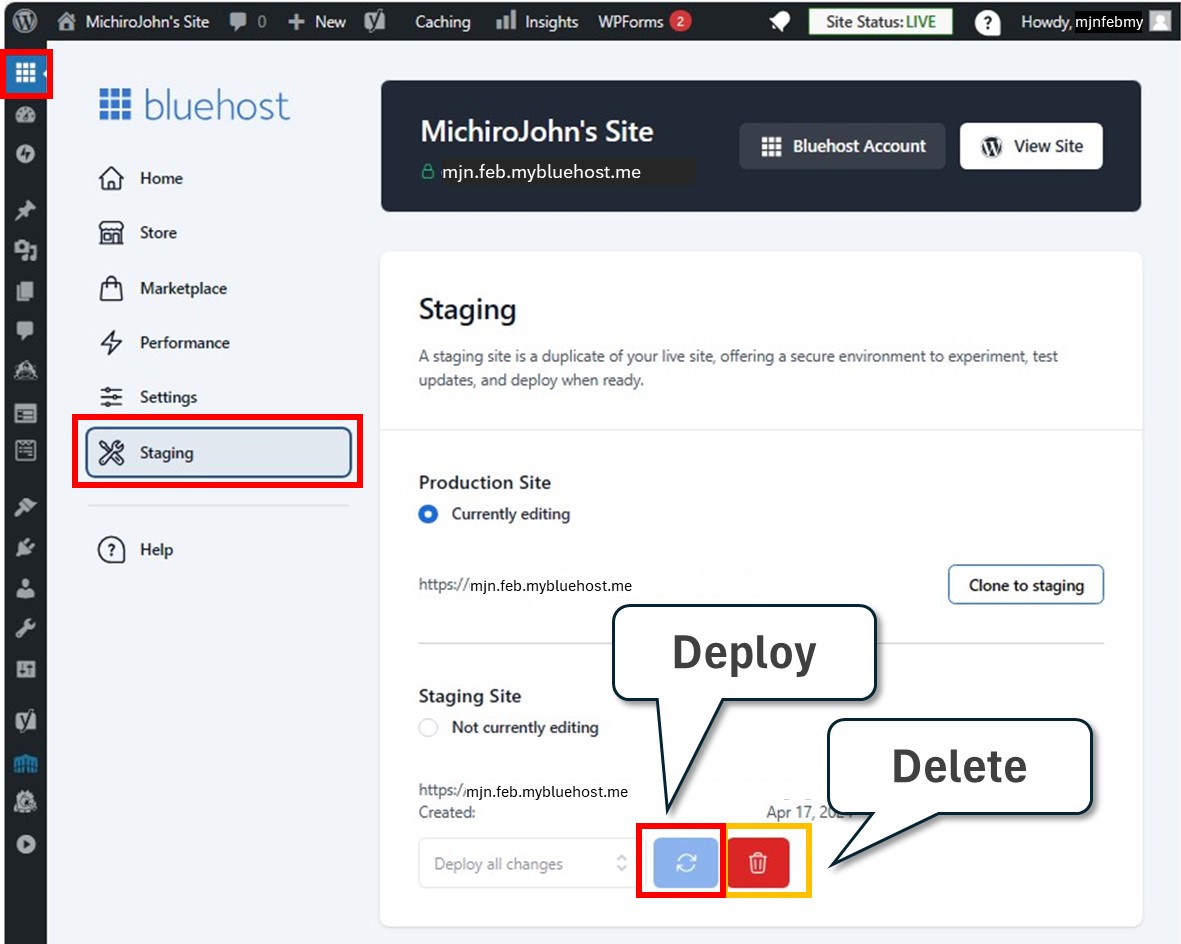
The changes are updated with just one press.
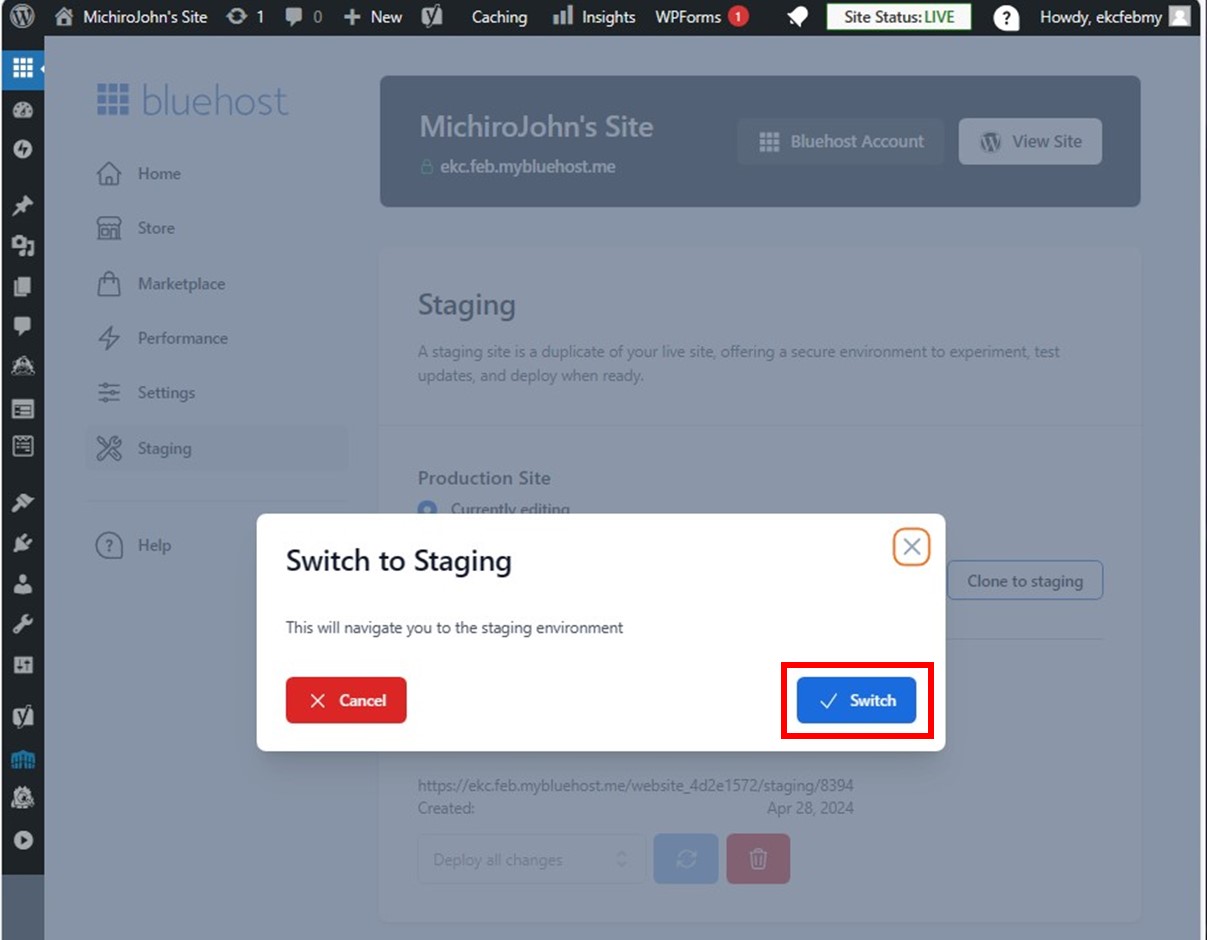
It’s easy to go and go back to a staging site or a live site.
WordPress.com sites don’t have this function. Neither has an external File Manager. So it becomes hard when you’re facing on a trouble. It needs backup of Jetpack ( Not plugin’s ).
Set an icon to your mobile
First, after you access Bluehost from your mobile, you launch a site. Then go to WordPress’s dashboard, and then add this page to favorites.
In Bluehost, just type ” Bluehost ” in the search box, you can go there.
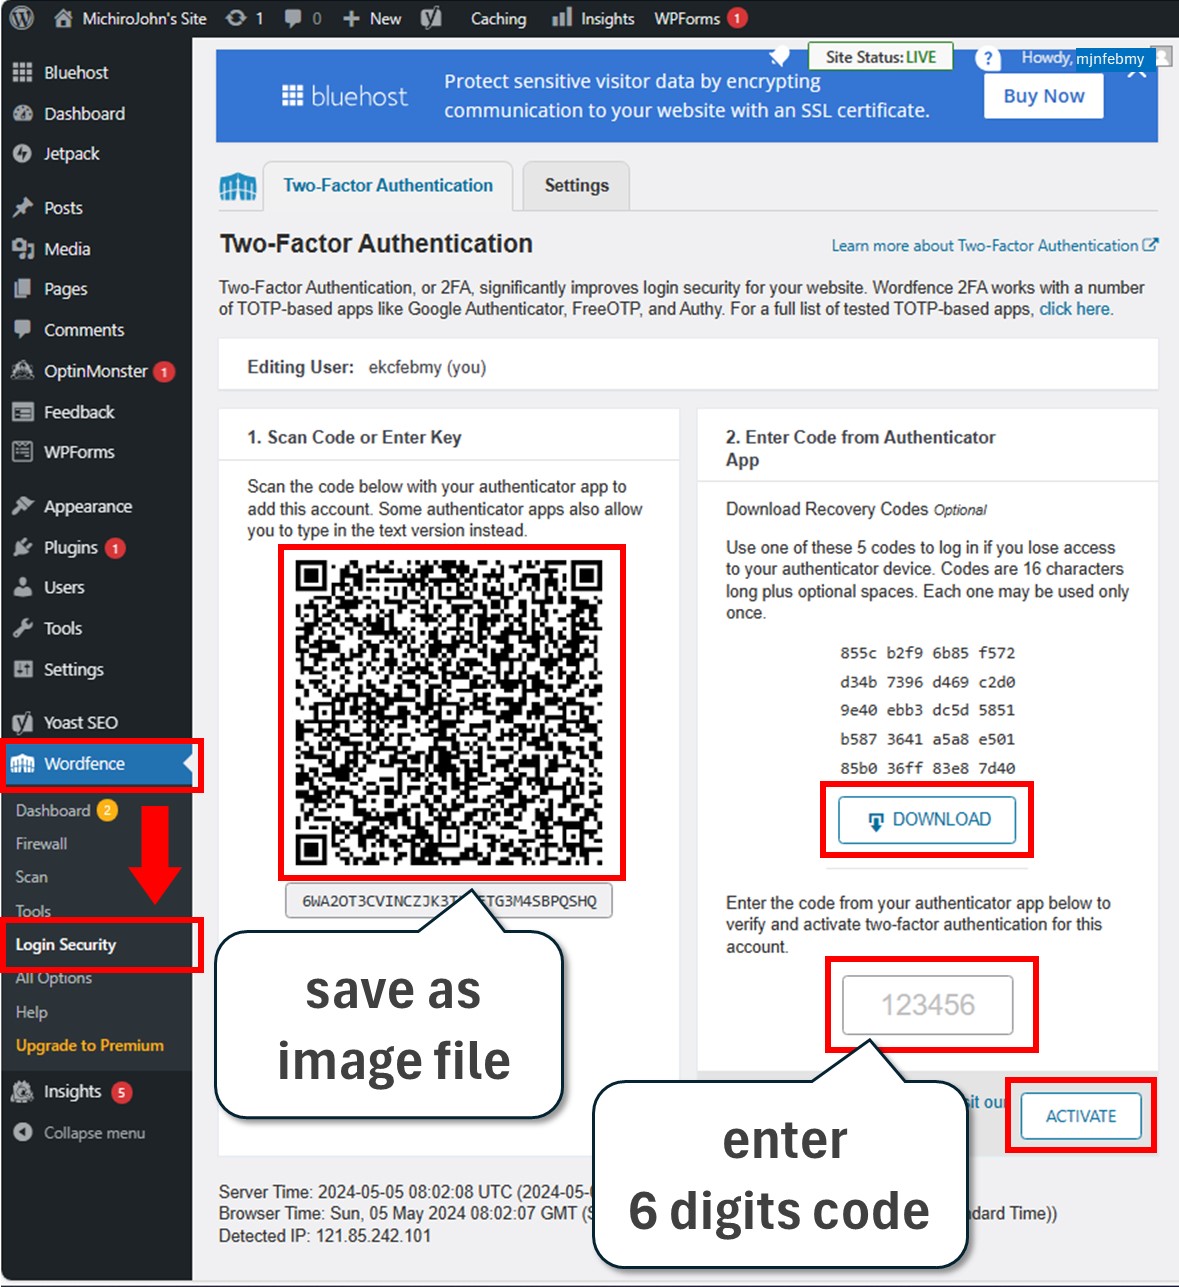
Configure 2FA to a website
No need to configure it specially.
Bluehost can access your sites with WordPress.com account, that is the excellent function. It can provide a direct access securely and easily. But it has a weakness when your ID & password are leaked.
It’s better to change password regularly.
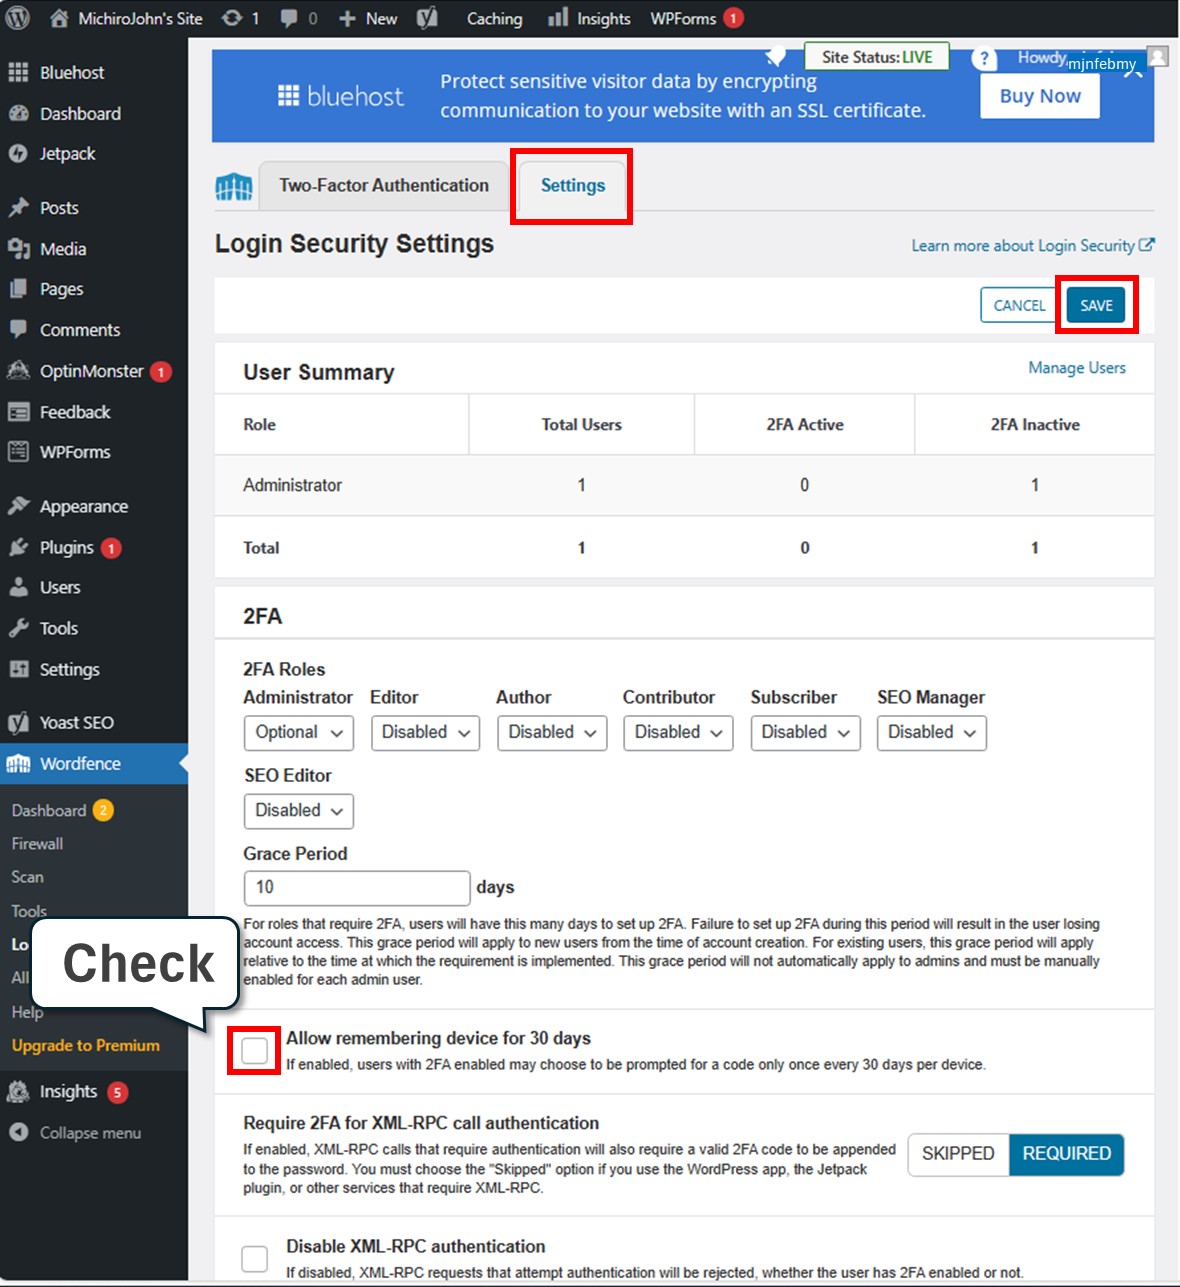
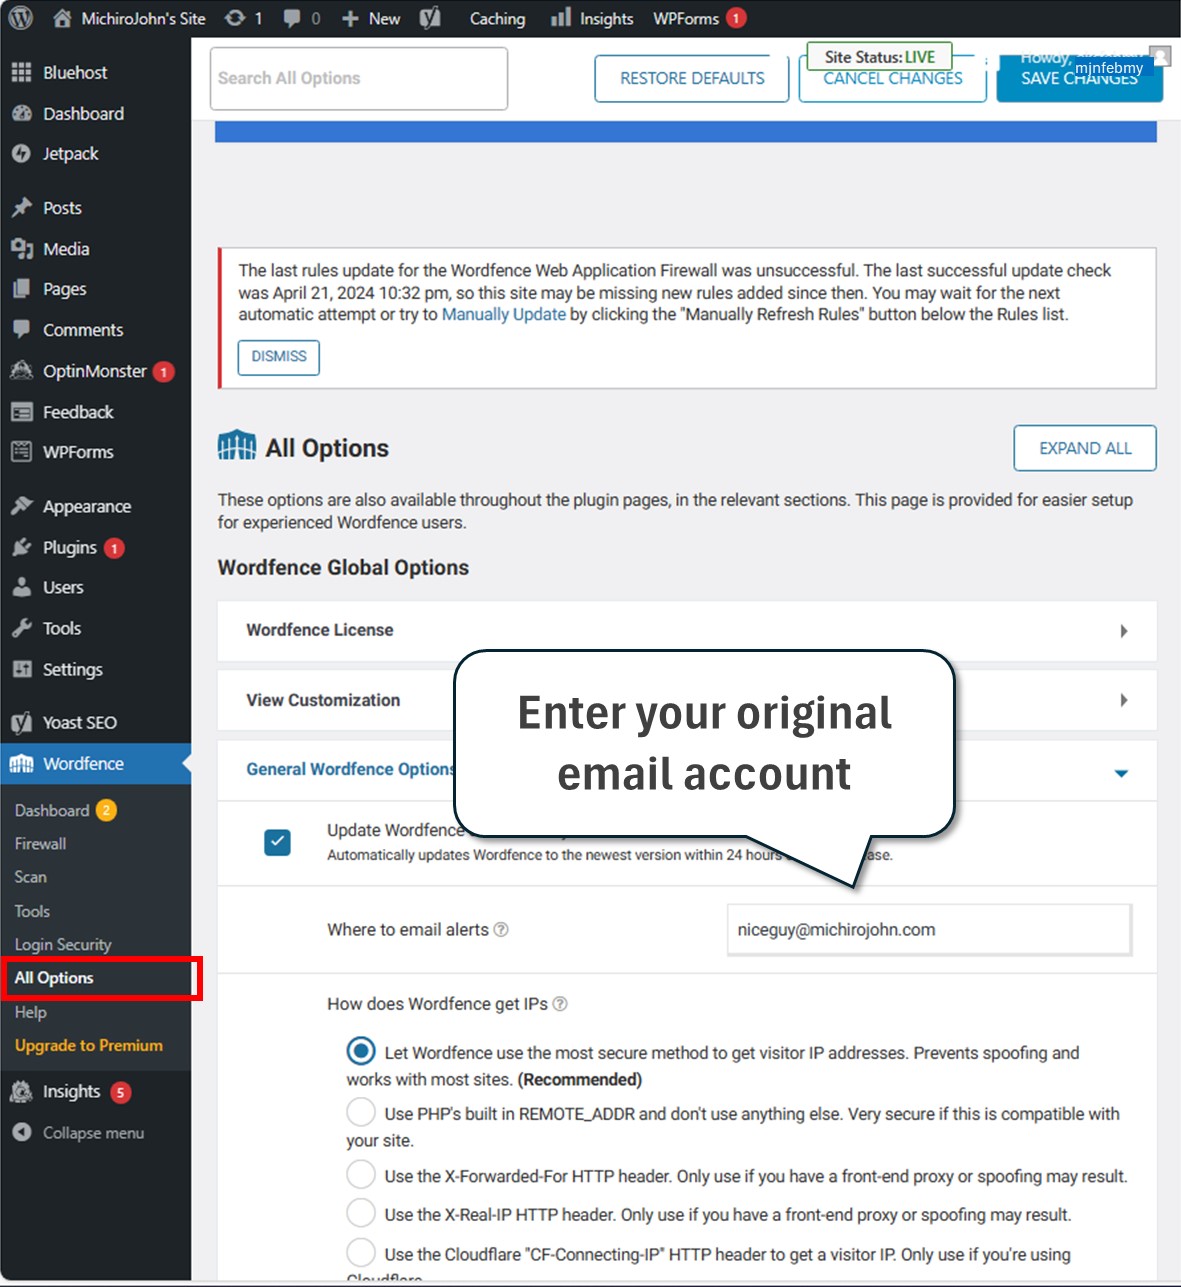
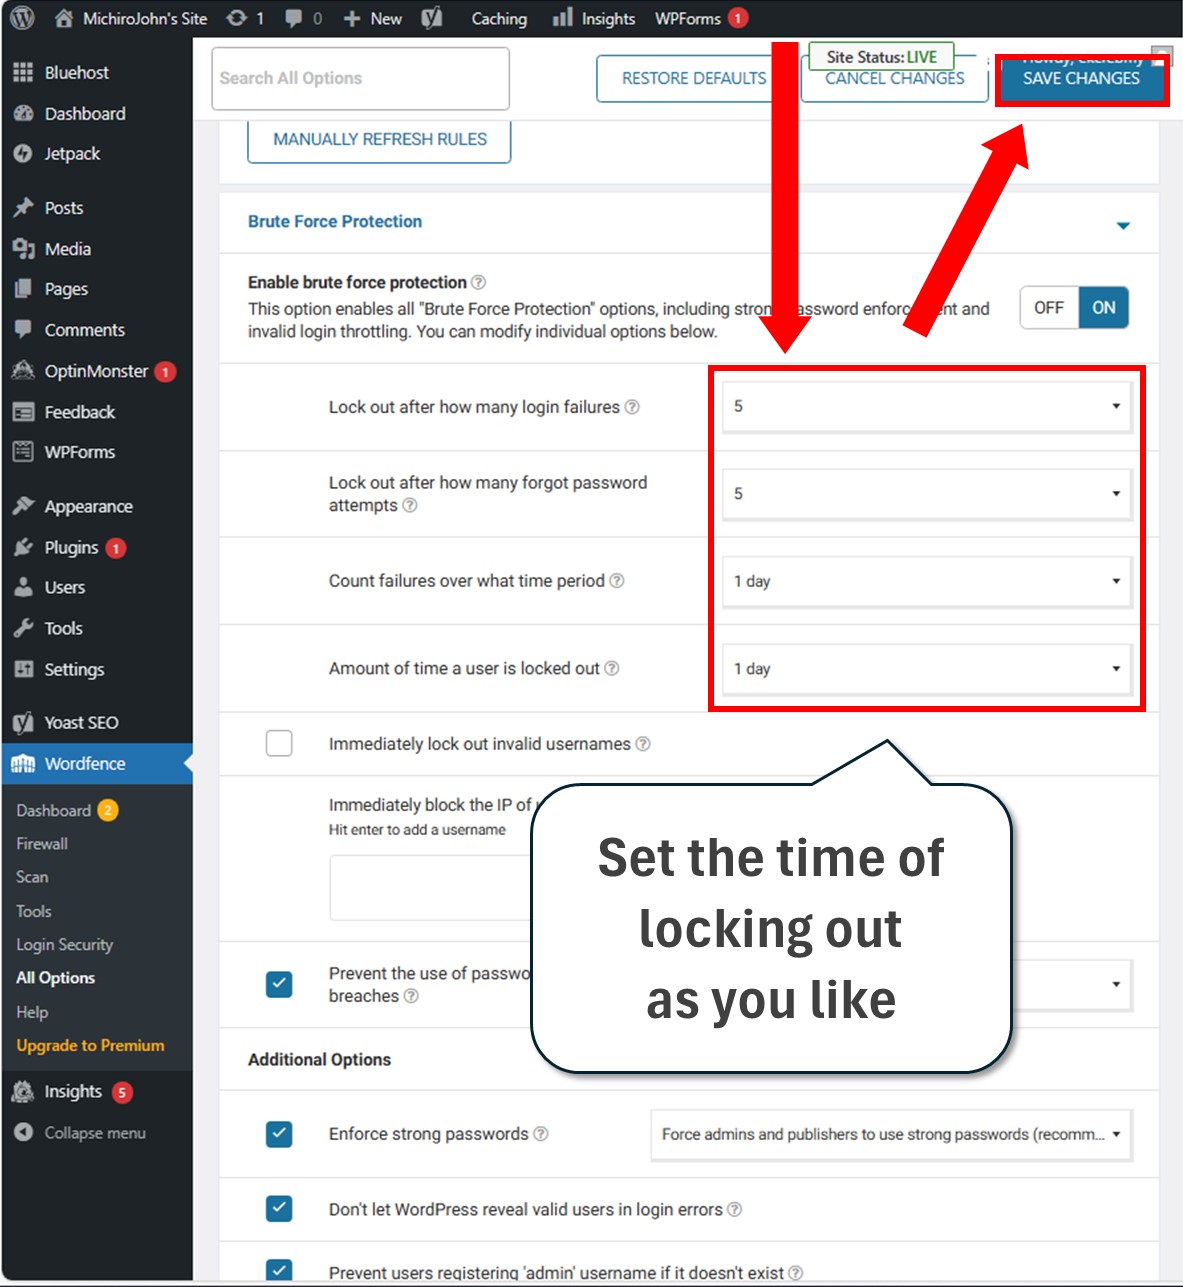
For this countermeasure, there is a way to configure other security plugin. My recommendation is Wordfence, which can create a passwordless environment for 30 days. But it is incompatible with Bluehost. I failed to establish the passwordless environment with this security plugin. I have to enter my ID & password every 6 hours.
Therefore, I don’t recommend you to use other security plugins. You should use Jetpack security.
For the reference, I show you how to configure Google Authenticator by Wordfence.
Thank you for reading.
If you feel this article “Like!”, click the ads below ⇩⇩
Your click makes my affiliate income. It motivates me (^^;.
If you give a tip ——
Leave a comment(コメントを残す)
As I website possessor I believe the content matter here is rattling magnificent , appreciate it for your hard work. You should keep it up forever! Best of luck.
Thanks for your reading. I’ll do my best from now on as well.